UIBezierPath 是在 UIKit 中定义的类,可以用来创建基于矢量的路径,可以用来创建矩形、椭圆、曲线等等。`UIBezierPath`` 本质是对 Core Graphics 框架中的 CGPathRef 的封装。
UIBezierPath
API
|
|
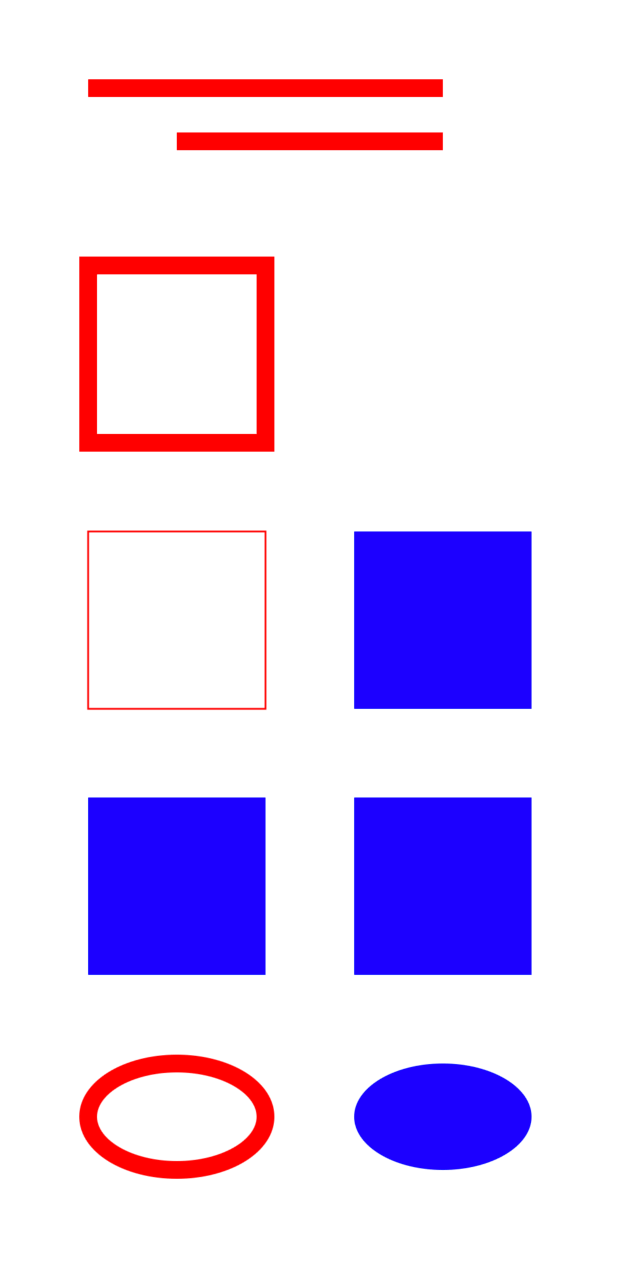
直线
bezierPath:创建一个 UIBezierPath 对象;moveToPoint::设置起点;addLineToPoint::创建线段;stroke:绘制线段;
|
|
虚线
bezierPath:创建一个 UIBezierPath 对象;moveToPoint::设置起点;addLineToPoint::创建线段;setLineDash:count::设置线段样式,交替绘制数组中的长度;stroke:绘制线段;
|
|
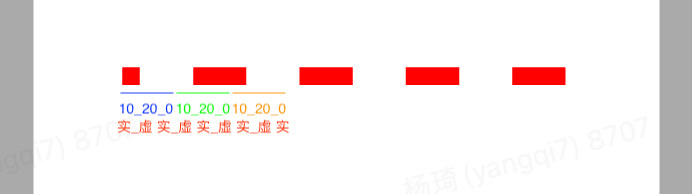
相较于实线,创建虚线多了一个设置项 setLineDash:count:,它是交替绘制的线段长度的数组。
如果数组长度是偶数,如 {10, 20},则 10 是虚线长度,20 是虚线间隙长度。

|
|
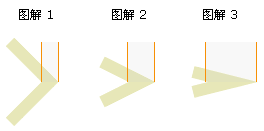
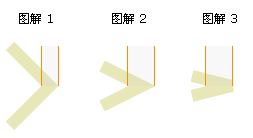
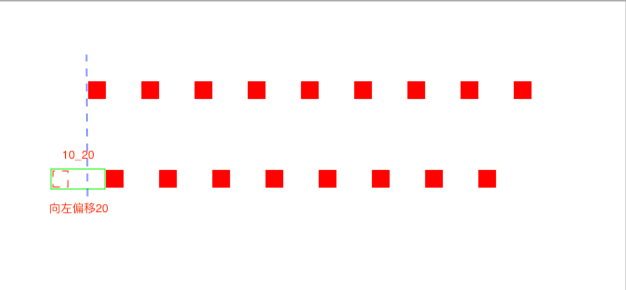
如果数组长度是奇数,如 {10, 20, 40},则 10 即是虚线长度也是间隙长度,如下图:
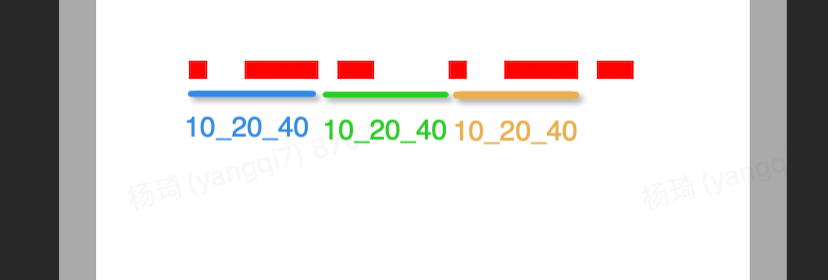
setLineDash:count: 中的 count 表示线段个数,dash 是线段长度数组。如果 dash 等于 {10, 20},count 等于3,则第三个线段长度默认为0,交替方式为:
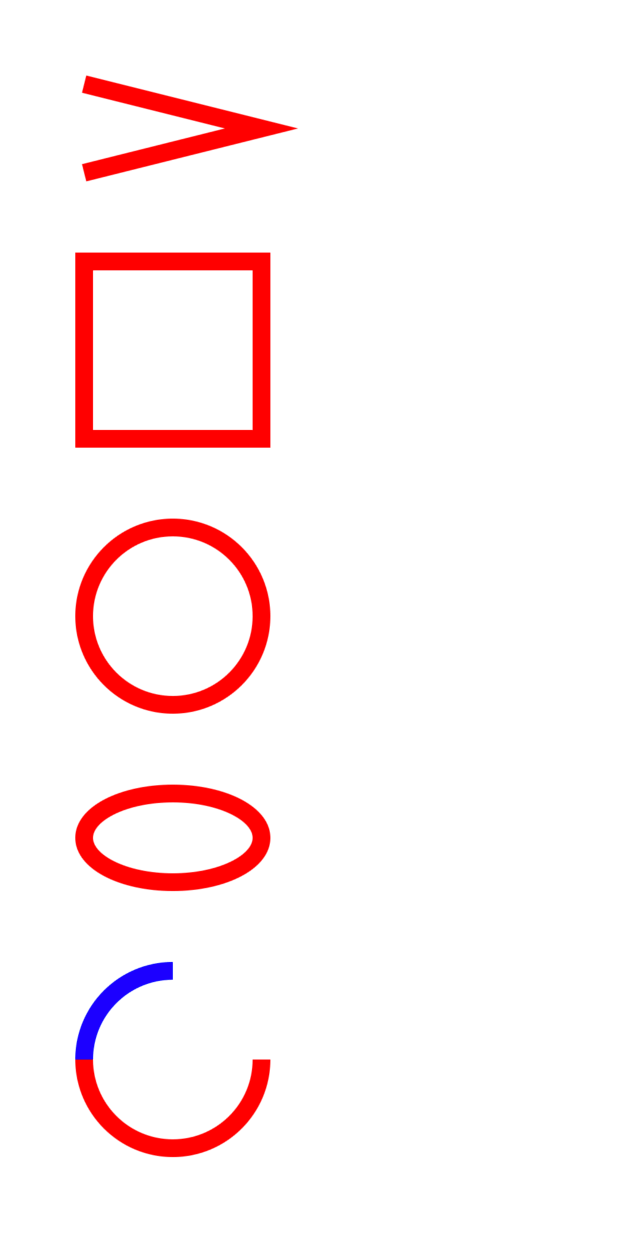
三角行
bezierPath:创建一个 UIBezierPath 对象;moveToPoint::设置起点;addLineToPoint::创建线段(多次调用创建多个子路径);closePath:闭合路径,即在终点和起点绘制一根线;stroke:绘制线段;
|
|
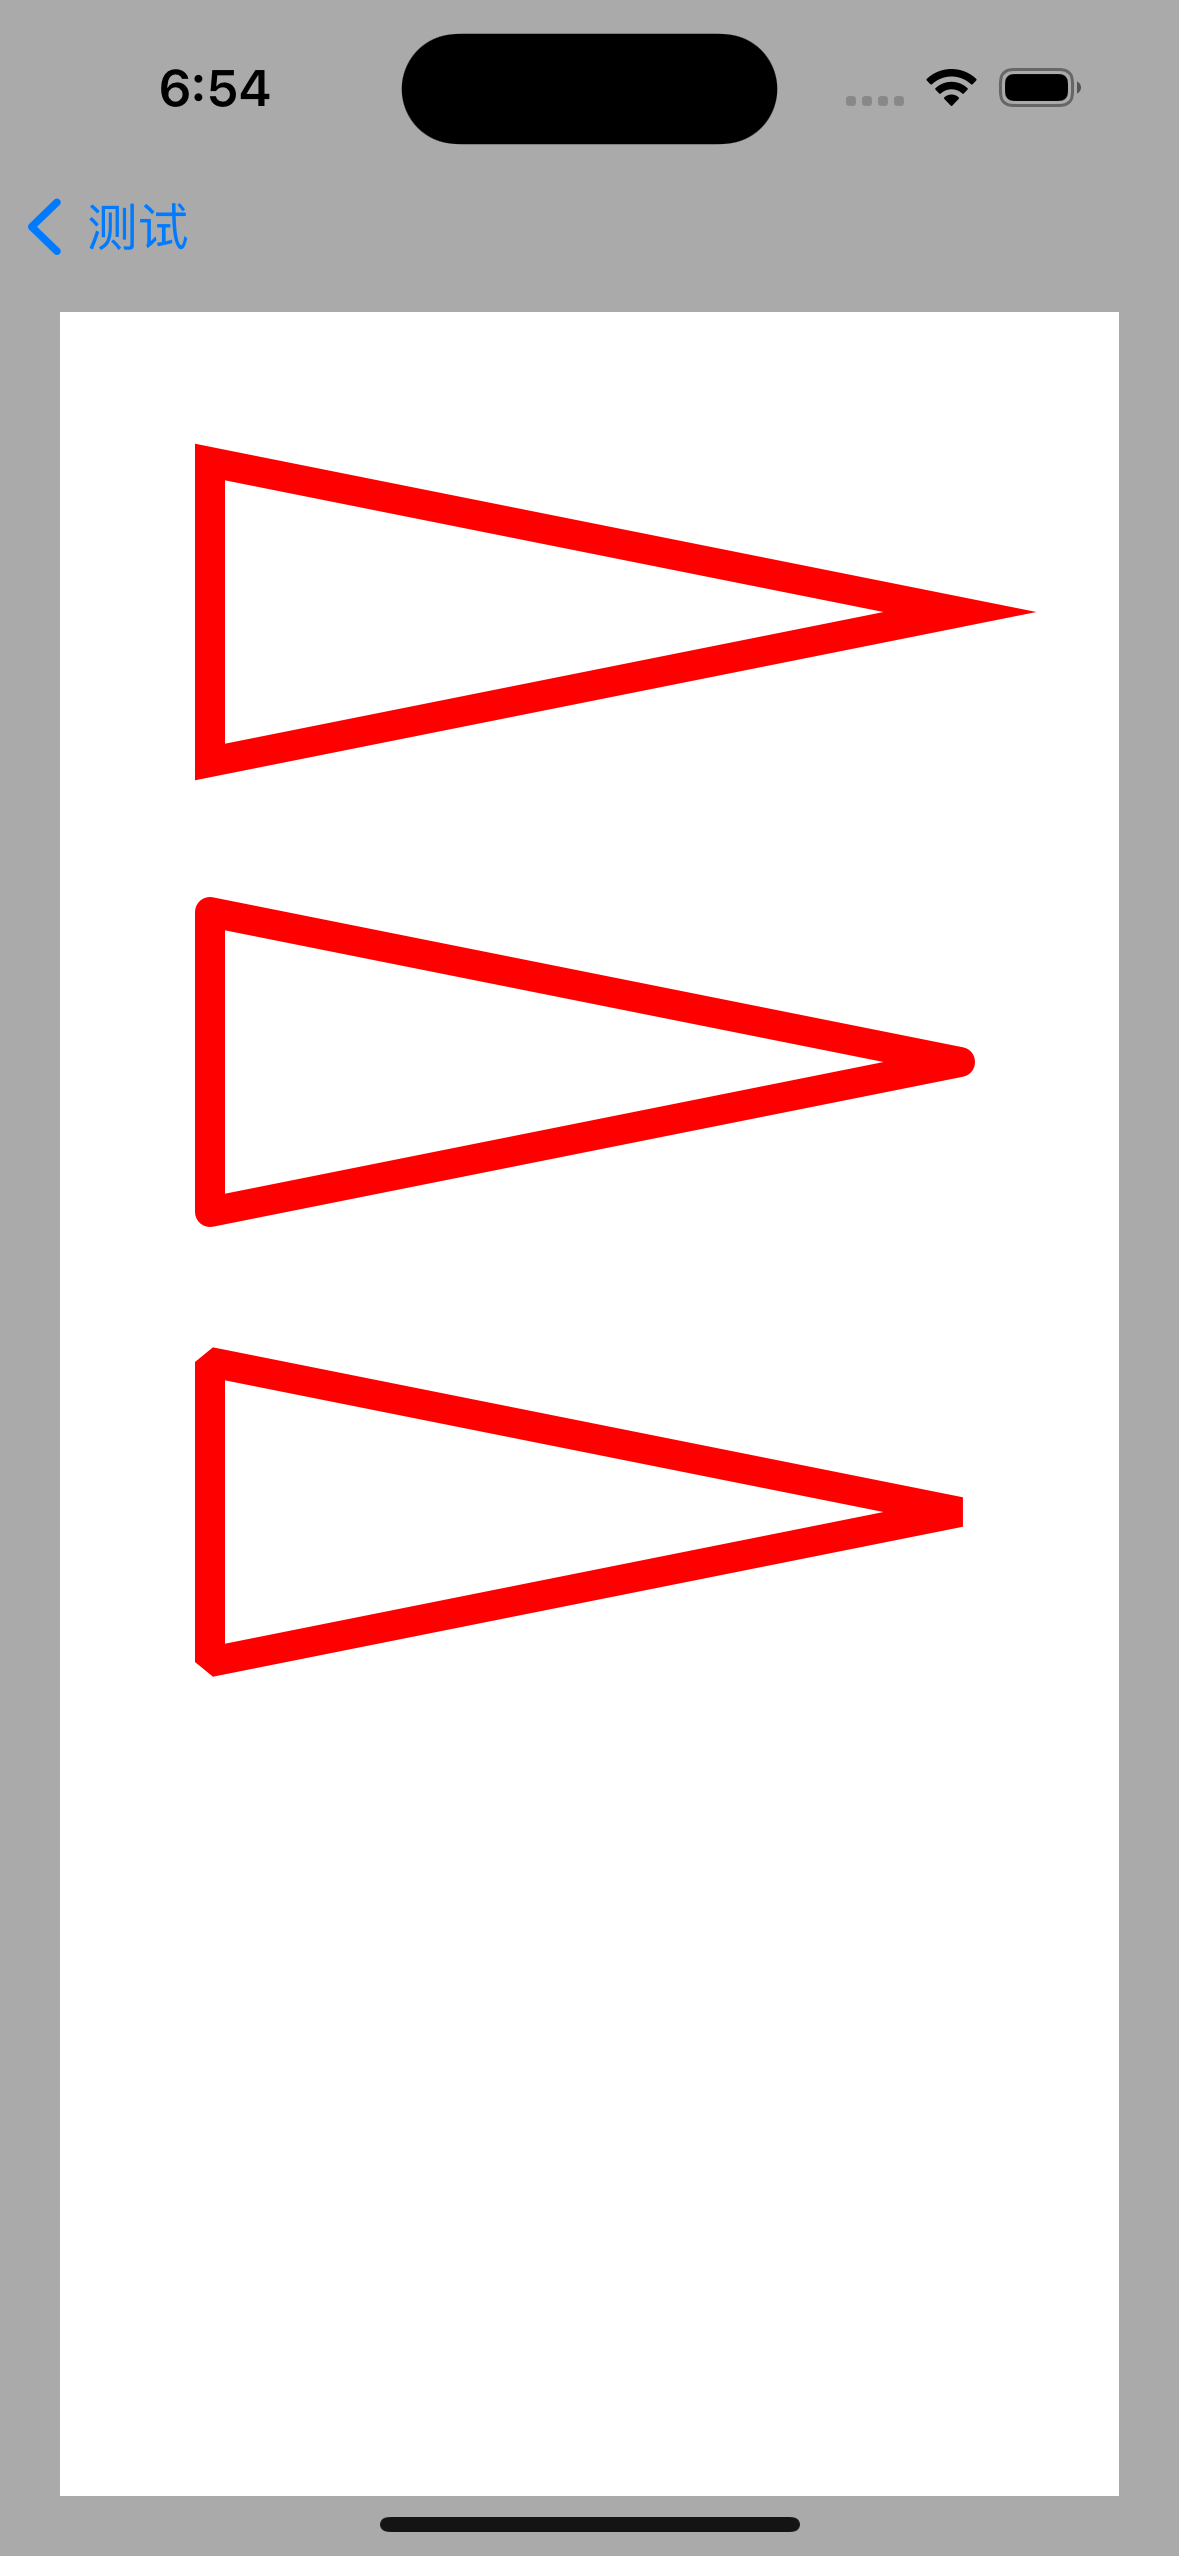
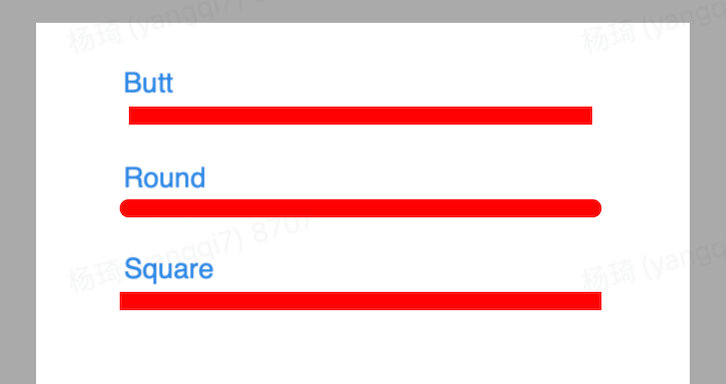
lineJoinStyle 是设置斜接长度
kCGLineJoinMiter:
kCGLineJoinBevel:
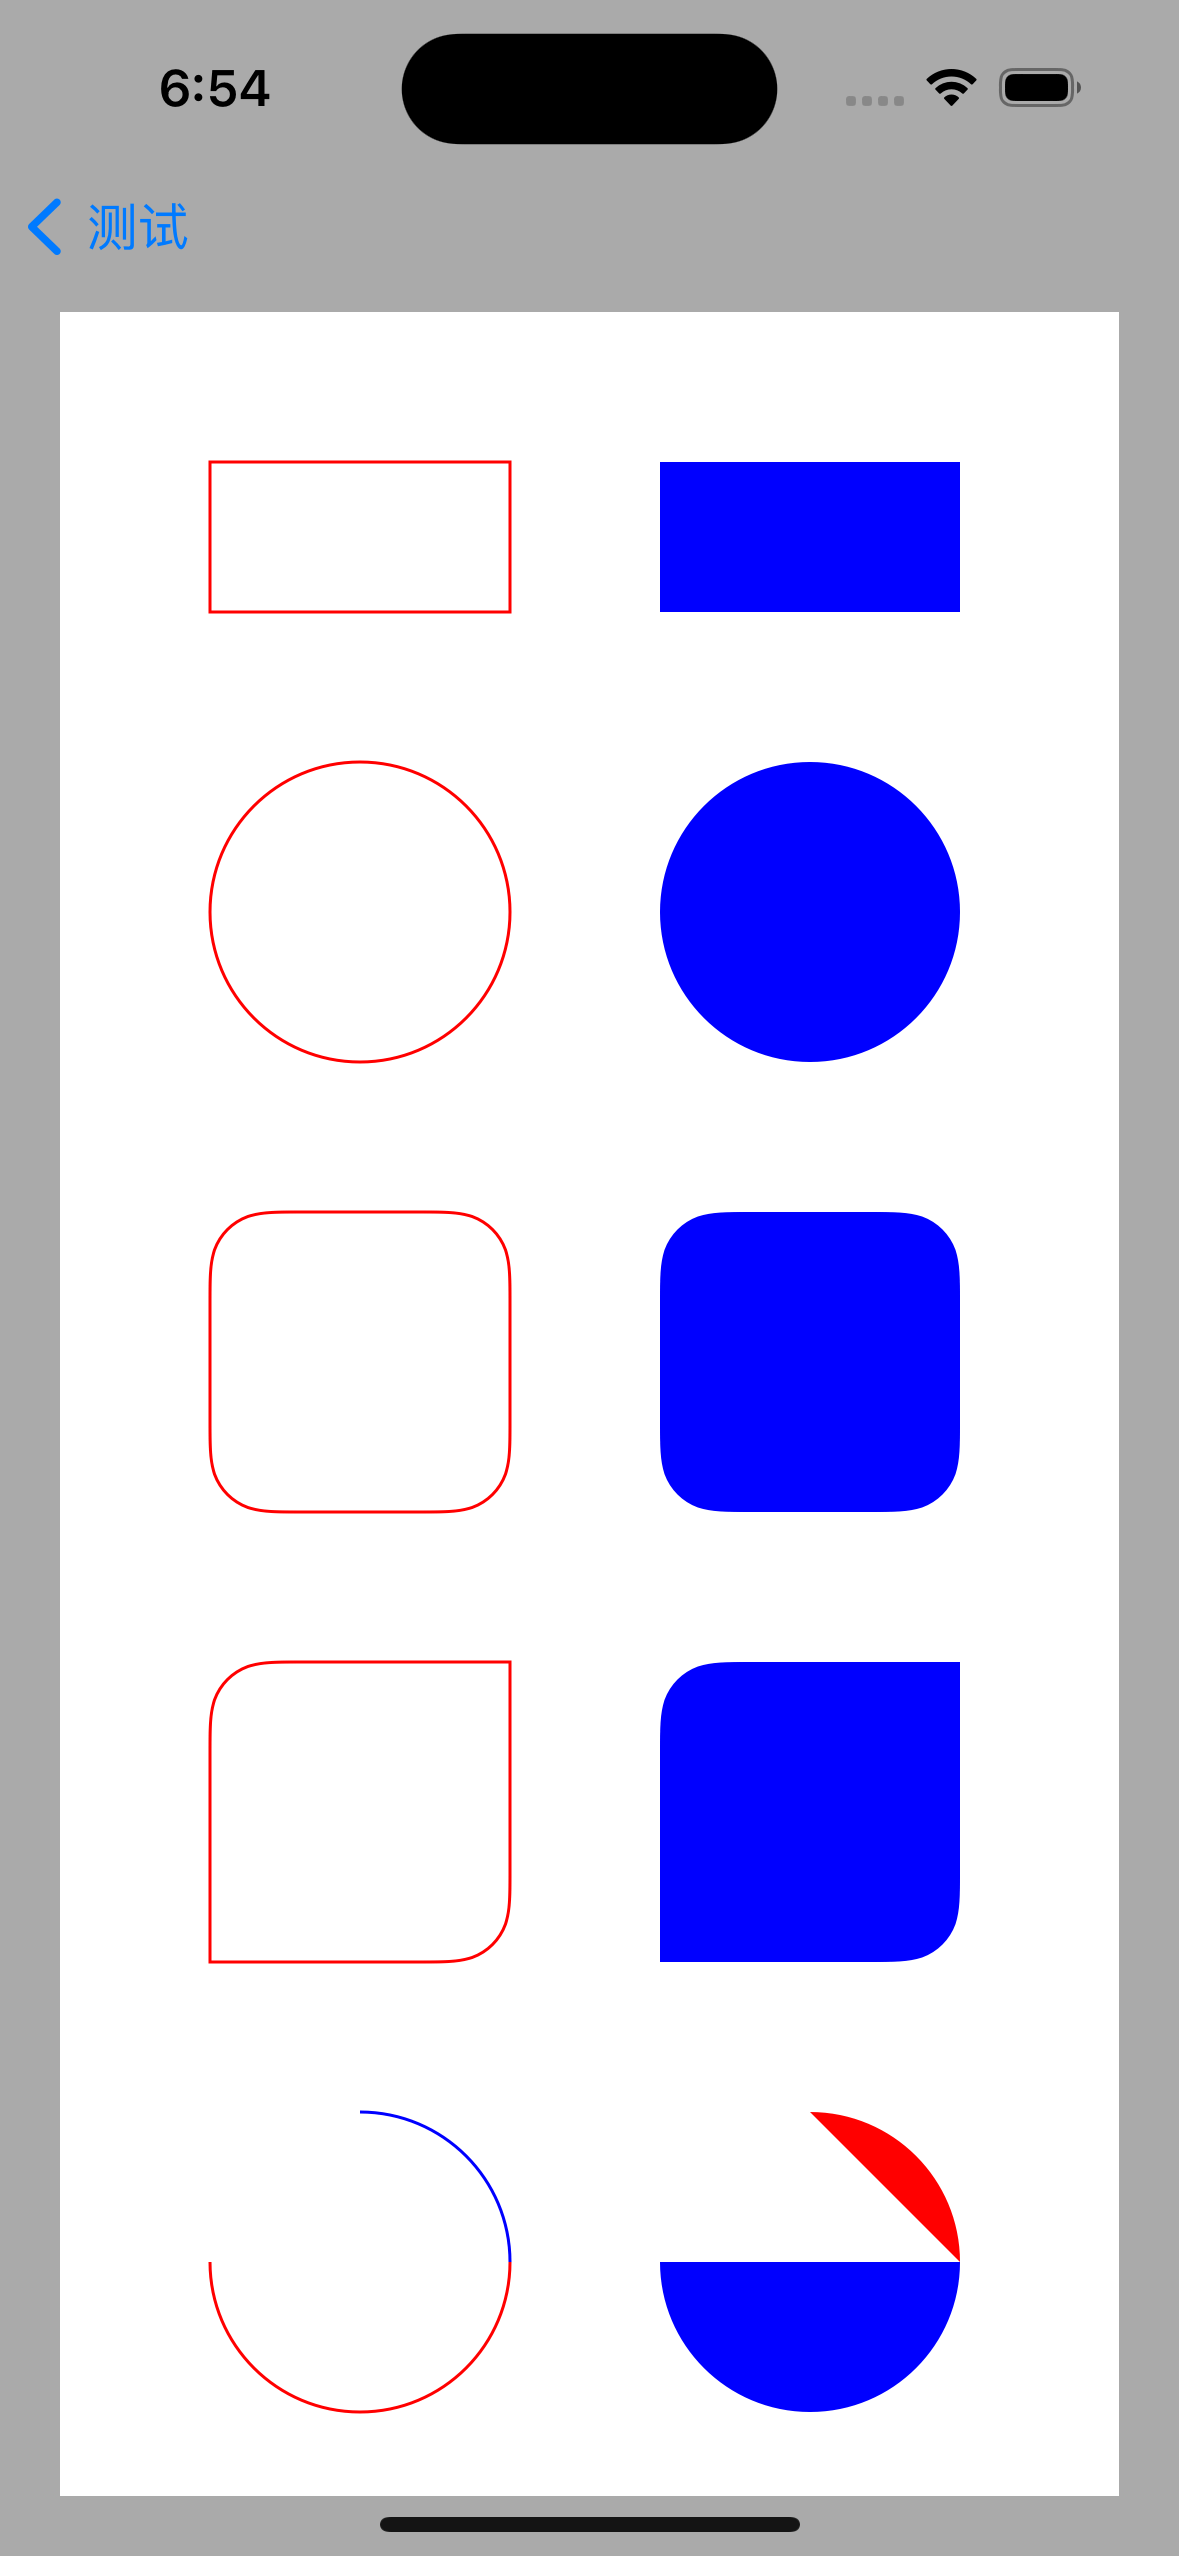
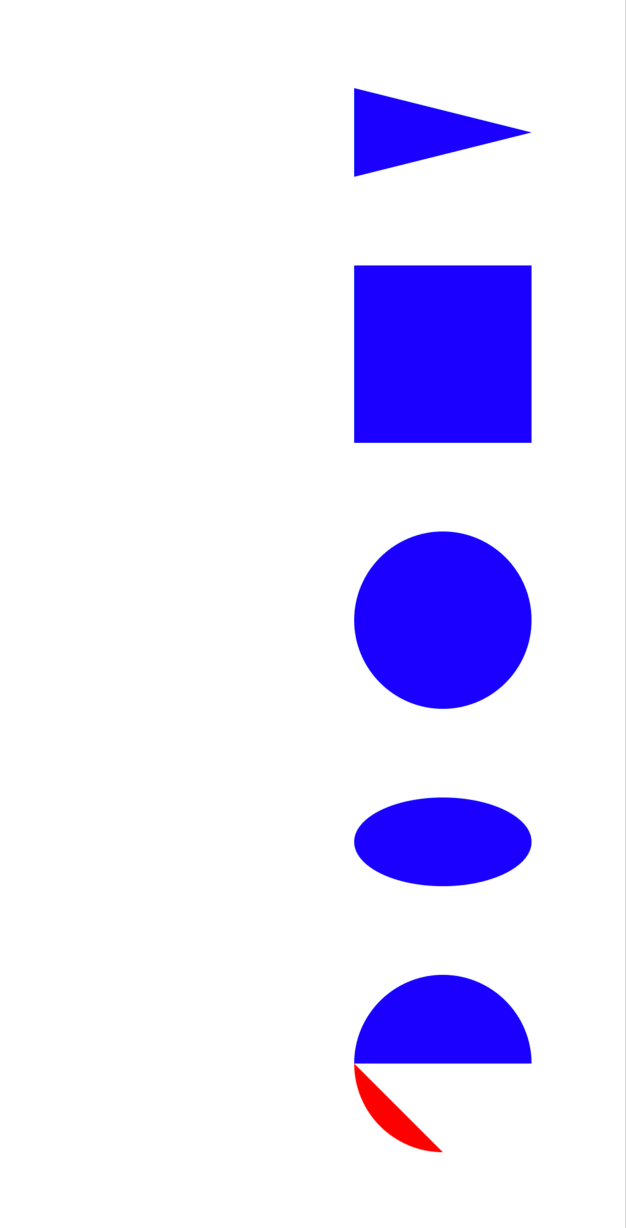
图形
|
|
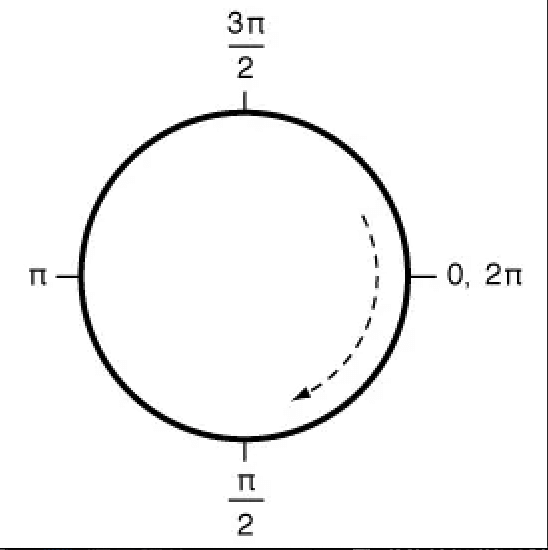
绘制圆形的角度关系
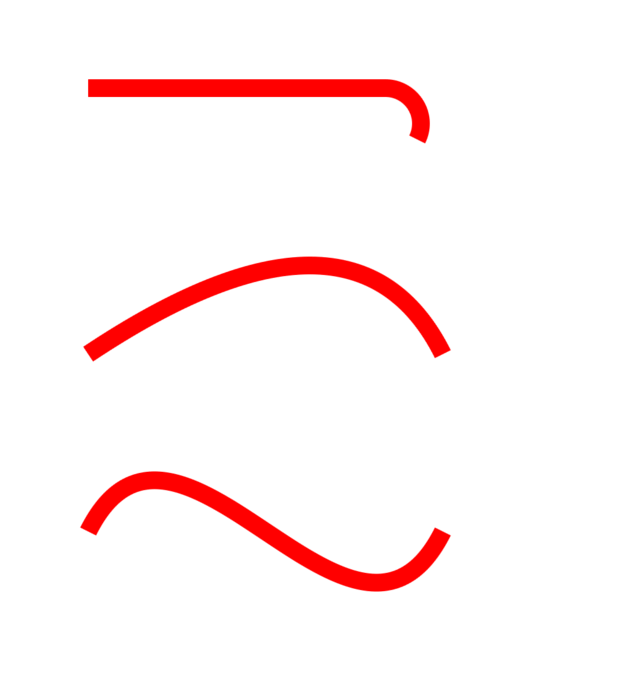
曲线
|
|
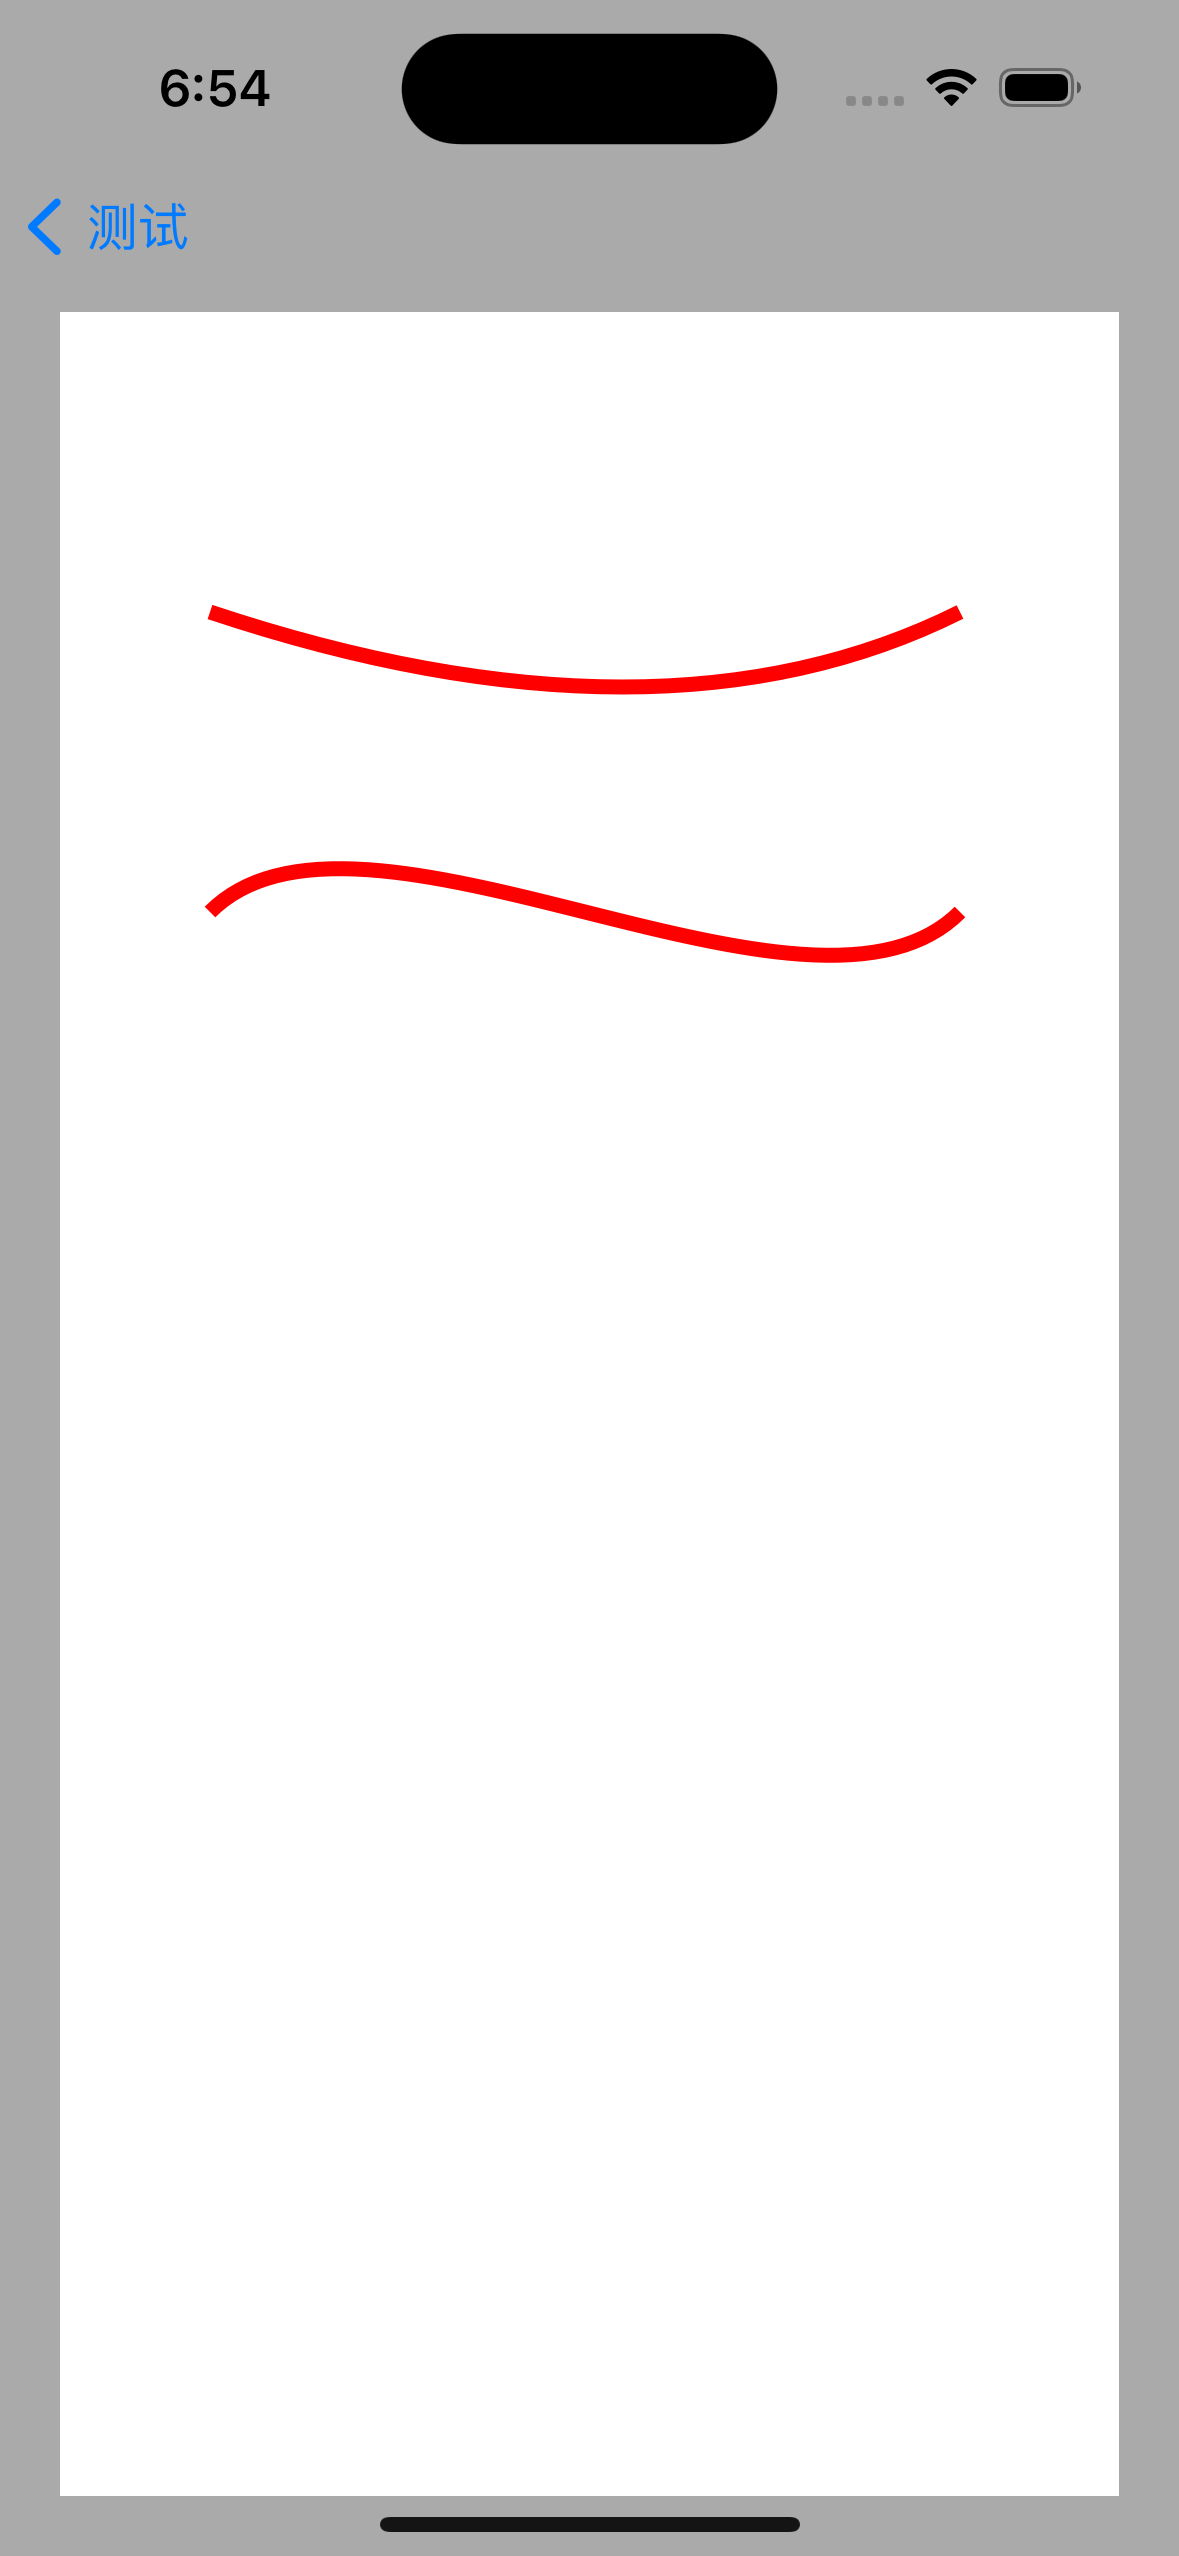
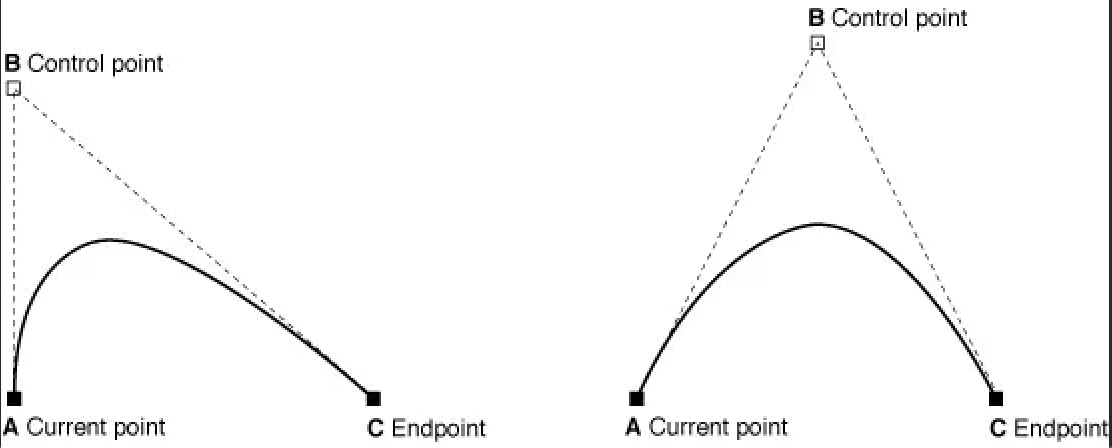
二次曲线:包括两个起点,一个控制点。
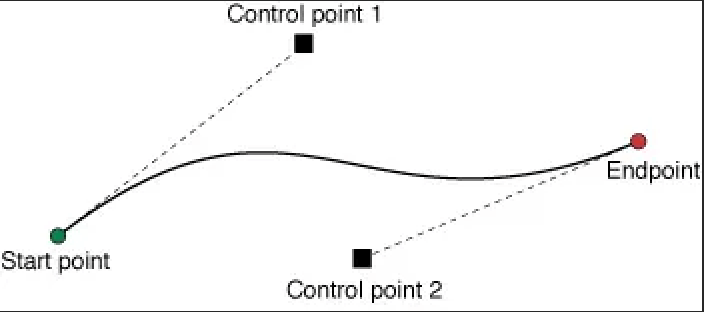
三次曲线:包括两个起点,两个控制点。
Core Graphics
Core Graphics Framework 是一套基于 C 的 API 框架,使用了 Quartz 作为绘图引擎。它提供了低级别、轻量级、高保真度的 2D 渲染。该框架可以用于基于路径的绘图、变换、颜色管理、脱屏渲染,模板、渐变、遮蔽、图像数据管理、图像的创建、遮罩,以及PDF文档的创建、显示和分析。
iOS 支持两套图形API族:
- Core Graphics/QuartZ 2D(QuartZ 2D 是苹果公司开发的API,是 Core Graphics Framework 的一部分);
- OpenGL ES(跨平台图形API,OpenGL 的简化版本);
UIBezierPath 是基于 Core Graphics 对 CGPathRef 数据类型的封装。
直线
|
|
虚线
|
|
三角形
|
|
更多图形
|
|
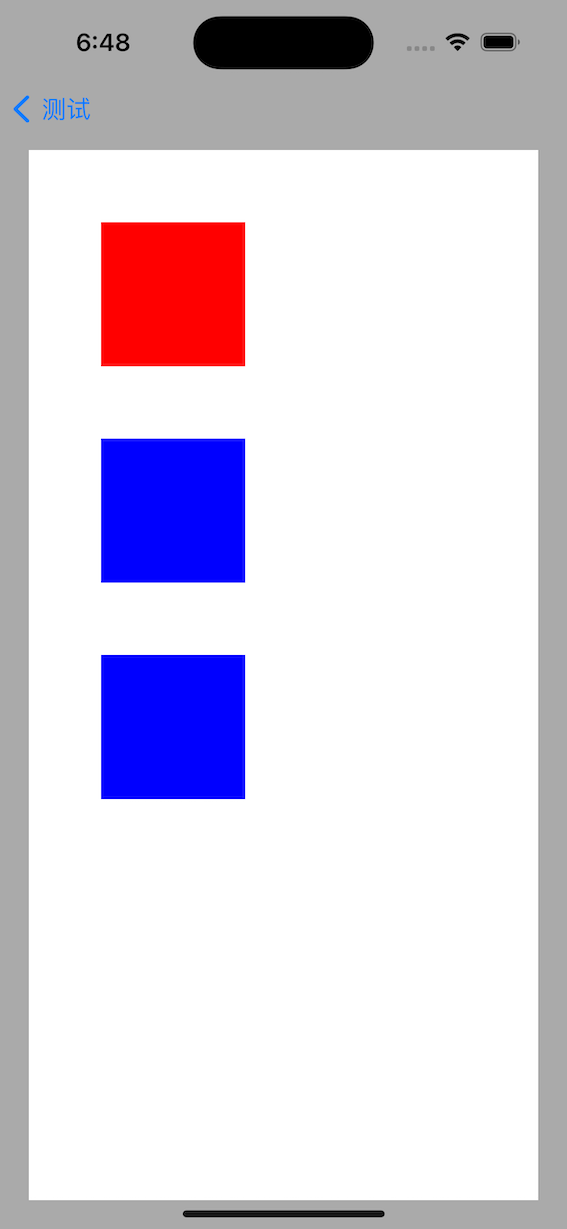
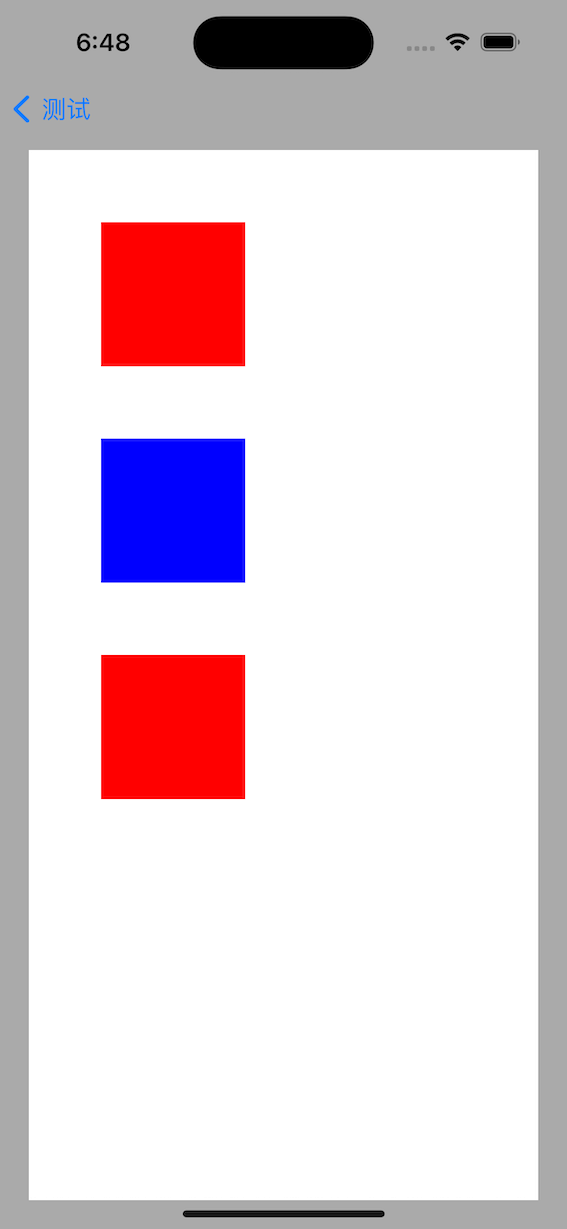
填充样式:
|
|
贝塞尔曲线
|
|
高级API
|
|
push
|
|
SaveGState
|
|
drawRect
上面演示的 UIBezierPath 和 Core Graphics,都是在 drawRect: 方法里实现的,所以这里有一个问题:为什么要在 drawRect: 方法内实现绘图操作?
思考:为什么要在 drawRect: 方法内实现绘图操作
因为 Core Graphics API 所有的操作都在上下文中进行,所以在绘图前需要获取该上下文并传入执行渲染的函数内。上下文就是内存中的一块画布,屏幕上的所有图片有自己所属的画布(上下文),同时任何绘图操作都要在画布(上下文)上实现。
有两种获取上下文的常用方法:
一、重载 UIView 的 - (void)drawRect:(CGRect)rect 方法,利用 Cocoa 自动生成的上下文
子类化
UIView并实现drawRect:方法,一旦drawRect:方法被调用,Cocoa 就会创建一个图形上下文;调用
UIGraphicsGetCurrentContext()函数,获取到当前的图形上下文;进行绘图操作,所有操作都会显示在当前上下文对应的 UIView 上;
重绘:
setNeedDisplay。
二、创建一个图片类型的上下文
调用
UIGraphicsBeginImageContext()或UIGraphicsBeginImageContextWithOptions()函数可以获得处理图片的图形上下文;调用
UIGraphicsGetImageFromCurrentImageContext()函数可以从画布(上下文)中获取一个 UIImag 对象;调用
UIGraphicsEndImageContext()函数关闭图形上下文。
UIGraphicsBeginImageContext
在 drawRect: 方法外完成绘图操作:
|
|
这里使用 UIGraphicsBeginImageContext() 方法,完成了在 drawRect: 方法外绘图的操作。
Core Animation
CALayer
一、重载 CALayer 的 - (void)drawInContext:(CGContextRef)ctx 方法,利用 Cocoa 自动生成的上下文
子类化
CALayer并实现- (void)drawInContext:(CGContextRef)ctx方法,一旦- (void)drawInContext:(CGContextRef)ctx方法被调用,Cocoa 就会创建一个图形上下文;调用
UIGraphicsGetCurrentContext()函数,获取到当前的图形上下文;进行绘图操作,所有操作都会显示在当前上下文对应的 UIView 上;
重绘:
setNeedDisplay。
因为 - (void)drawInContext:(CGContextRef)ctx 方法内部会调用 CALayerDelegate 协议中的 -drawLayer:inContext: 方法,所以也可以实现-drawLayer:inContext: 方法获取到当前上下文。
|
|
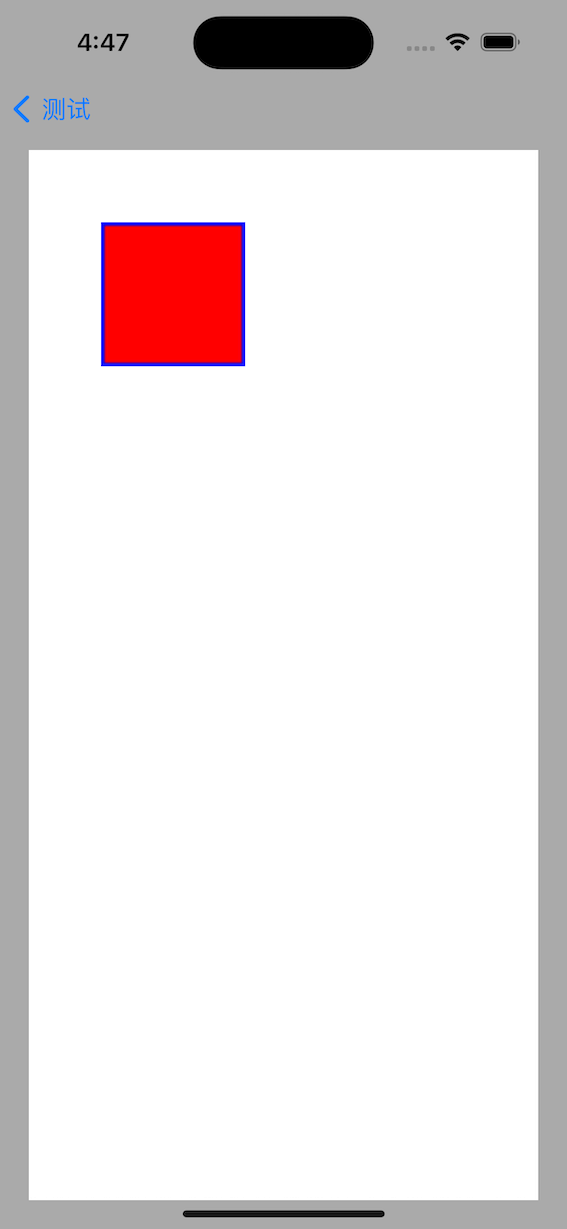
CAShapeLayer
CAShapeLayer 是一个通过矢量图形而不是 bitmap(位图)来绘制的图层子类。可以设置颜色和线宽,用 CGPath 定义图形,让 CAShapeLayer 自动渲染出来。先比用 Core Graphics 直接向原始的 CALayer 的内容中绘制路径,使用 CAShapeLayer 有四点优势:
- 渲染快速。
- 高效使用内存。
- 不会被图层边界剪裁掉。
- 不会出现像素化。
CAShapeLayer 可以绘制所有能够通过 CGPath 来表示的形状。这个形状不一定要闭合,图层路径也不一定要不间断,可以在一个图层上绘制好几个不同的形状。
CAShapeLayer 有图形属性,如 lineWidth(线宽,用点表示单位),lineCap(线条结尾的样子),和 lineJoin(线条之间的结合点的样子)等等。
在图层层面,只有一次机会设置这些属性,如果想用不同颜色或风格来绘制多个形状,就不得不为每个形状准备一个图层了。
CAShapeLayer & Core Graphics
术语绘图通常在 Core Animation 的上下文中指代软件绘图,即不由 GPU 协助的绘图。在 iOS 中,软件绘图通常是由 Core Graphics 框架完成。但是,在一些必要的情况下,Core Graphics 要比 Core Animation 和 OpenGL 慢很多。
软件绘图不仅效率低,而且还会消耗较大的内存。一旦实现了 CALayerDelegate 协议中的 -drawLayer:inContext: 方法或者 UIView 中的 -drawRect: 方法(对前者的包装),图层就会创建一个绘制上下文,这个上下文需要的内存大小如下,宽高的单位是像素:
|
|
对于一个在 Retina iPad 上的全屏图层来说,这个内存量就是 2048 * 1526 * 4 字节 = 12MB。图层每次重绘的时候都需要重新抹掉内存然后重新分配。
软件绘图的代价昂贵,除非绝对必要,应该避免重绘视图。
而提高绘制性能的秘诀就是避免绘制,如使用 CAShapeLayer 代替 Core Graphics。
显示的大致流程
- 布局 - 准备视图/图层的层级关系,以及设置图层属性(位置,背景色,边框等)的阶段;
- 显示 - 绘制图层的寄宿图的阶段。绘制有可能涉及到 UIView 的 -drawRect: 和 CALayer 的 -drawLayer:inContext: 方法的调用路径;
- 准备 - Core Animation 准备发送数据到渲染服务的阶段;
- 光栅化 - 对所有的图层属性计算中间值,设置 OpenGL 几何形状(纹理化的三角形)来执行渲染;
- 渲染 - 在屏幕上渲染可见的三角形。
UIView - CALayer - Core Graphics

继承关系:
UIView —> UIResponder —> NSObject,CALayer —> NSObject。响应时间:因为 UIView 继承自 UIResponder,所以 UIView 可以响应时间。因为 CALayer 继承自 NSObject,所以 CALayer 不能响应事件。
框架:UIView 在 UIKit 框架中定义,用来构建界面、响应事件。CALayer 在 QuartzCore 框架中定义,绘制 2D 图像。
寄宿图:即图层中包含的图。UIView 内部联图了一个 CALayer 图层,即 backing layer。CALayer 内部包含一个 content 属性指向一块缓冲区,即 backing store,里面存放位图(bitmap)。iOS 中奖缓存区的图片称为寄宿图。寄宿图有两种设置方式:1、想 content 设置 CGImage 图片,这需要以来 Core Image 提供图片;2、实现 UIView 的 drawRect: 方法自定义绘图,这需要依赖 Core Graphics 绘制图形,再由 CALayer 生成图片。
UIView 的显示原理:CALayer 会创建一个图形上下文(CGContextRef),然后调用 CALayerDelegate 协议(这里是 UIView 实现)的
-drawLayer:inContext:方法,传入创建好的图形上下文(CGContextRef)对象,在-drawLayer:inContext:方法内部再调用 UIView 的-drawRect:方法。
应用
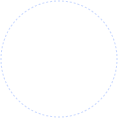
虚线圆形
问题:因为在设置虚线的线段长度和间隙长度时会不等于周长,所以就会出现虚线的尾部和头部的结合部分不匀称。
解决方案:通过计算得到实际的间隙长度,代替期望的间隙长度。
- 半径 M_PI 2.0 = 周长;
- 周长 / (线段长度 + 期望间隙长度) = 线段数量;
- (周长 / 线段数量) - 线段长度 = 实际间隙长度;
|
|
渐变多边形
|
|
提示框
|
|

相关文档: