相关文档:
Flutter(六)之Flutter开发初体验
Flutter(七)之有状态的StatefulWidget
《Flutter实战·第二版》
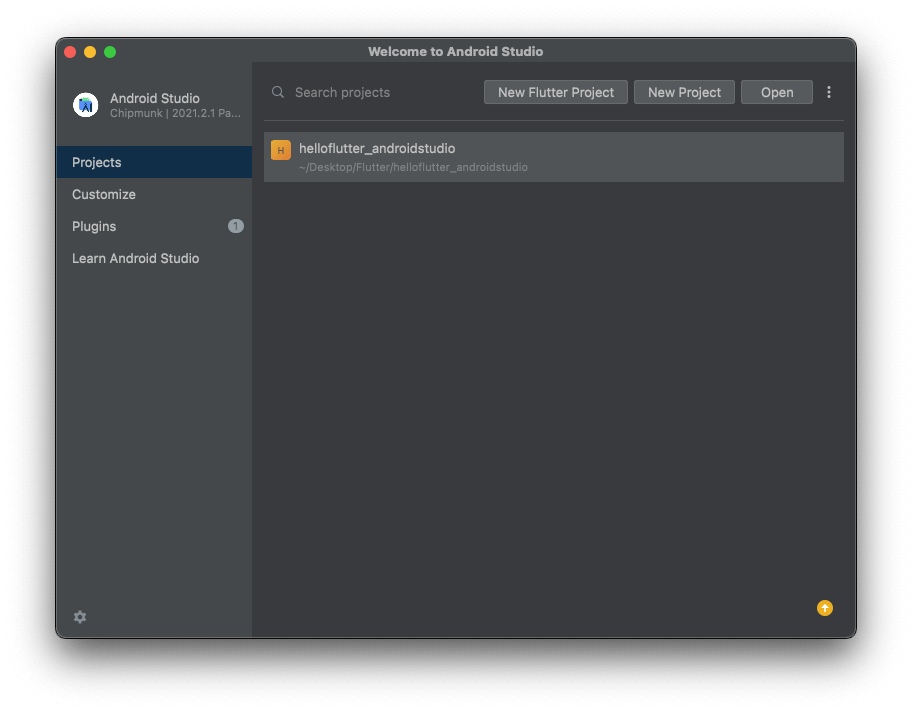
创建一个Flutter项目
第一步:点击New Flutter Project
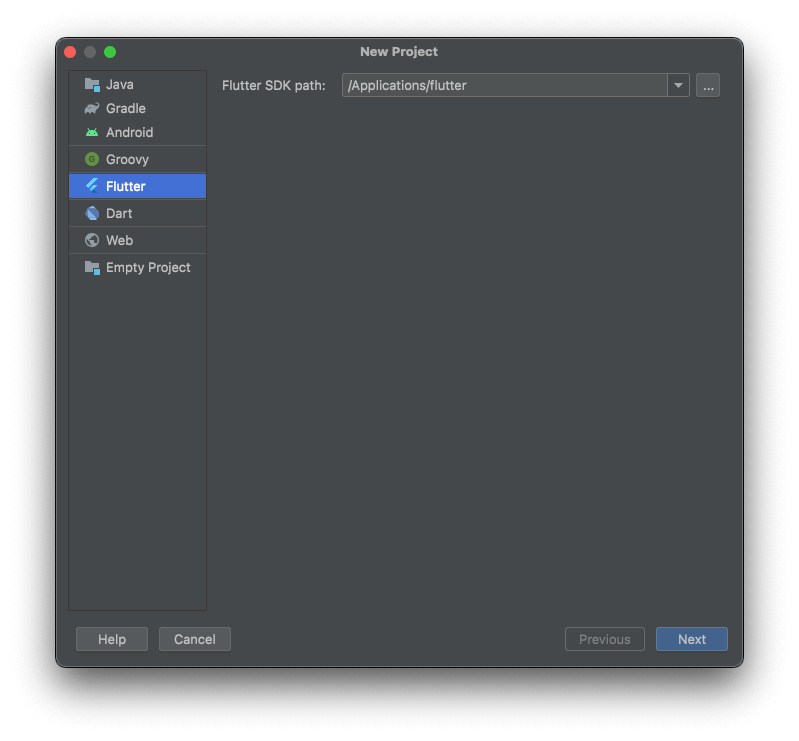
第二步:配置 Flutter SDK 的路径
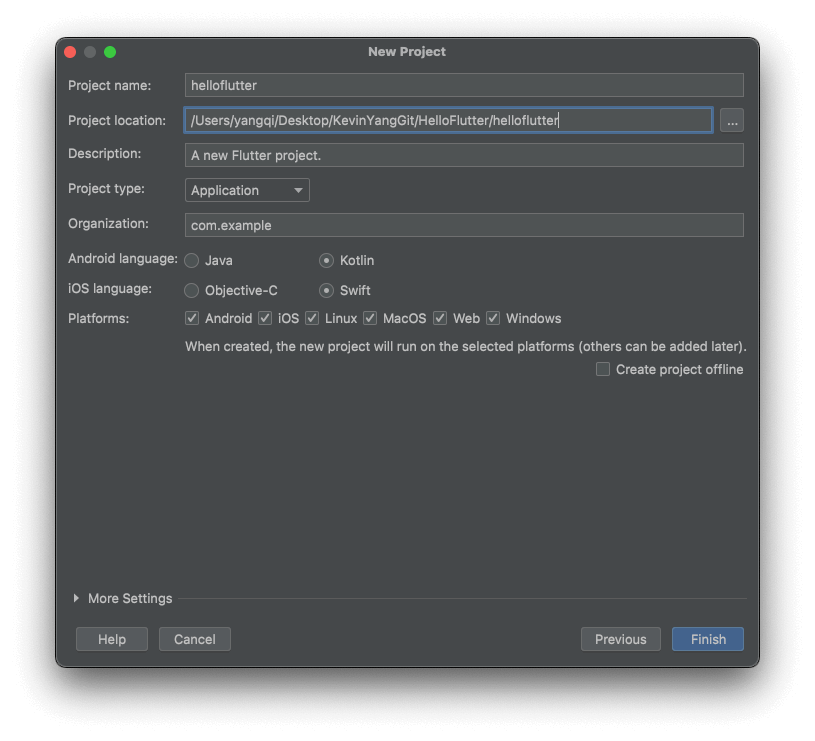
第三部:设置项目名称、项目路径
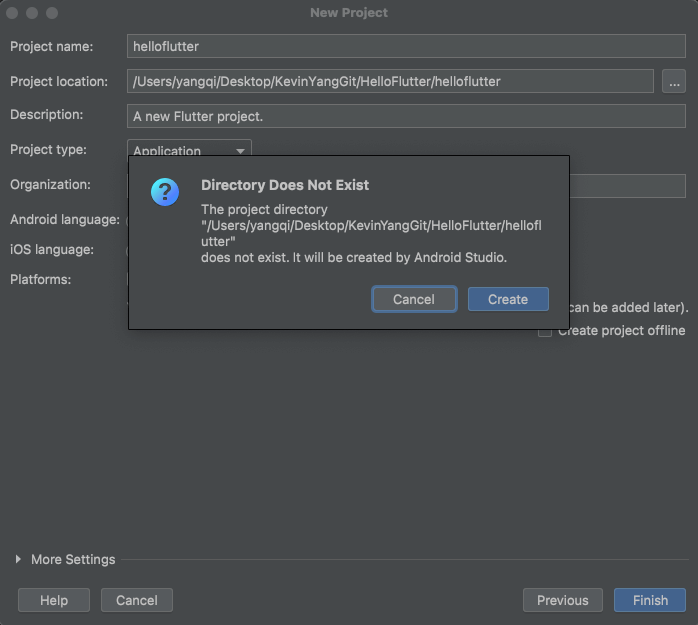
第四步:创建项目
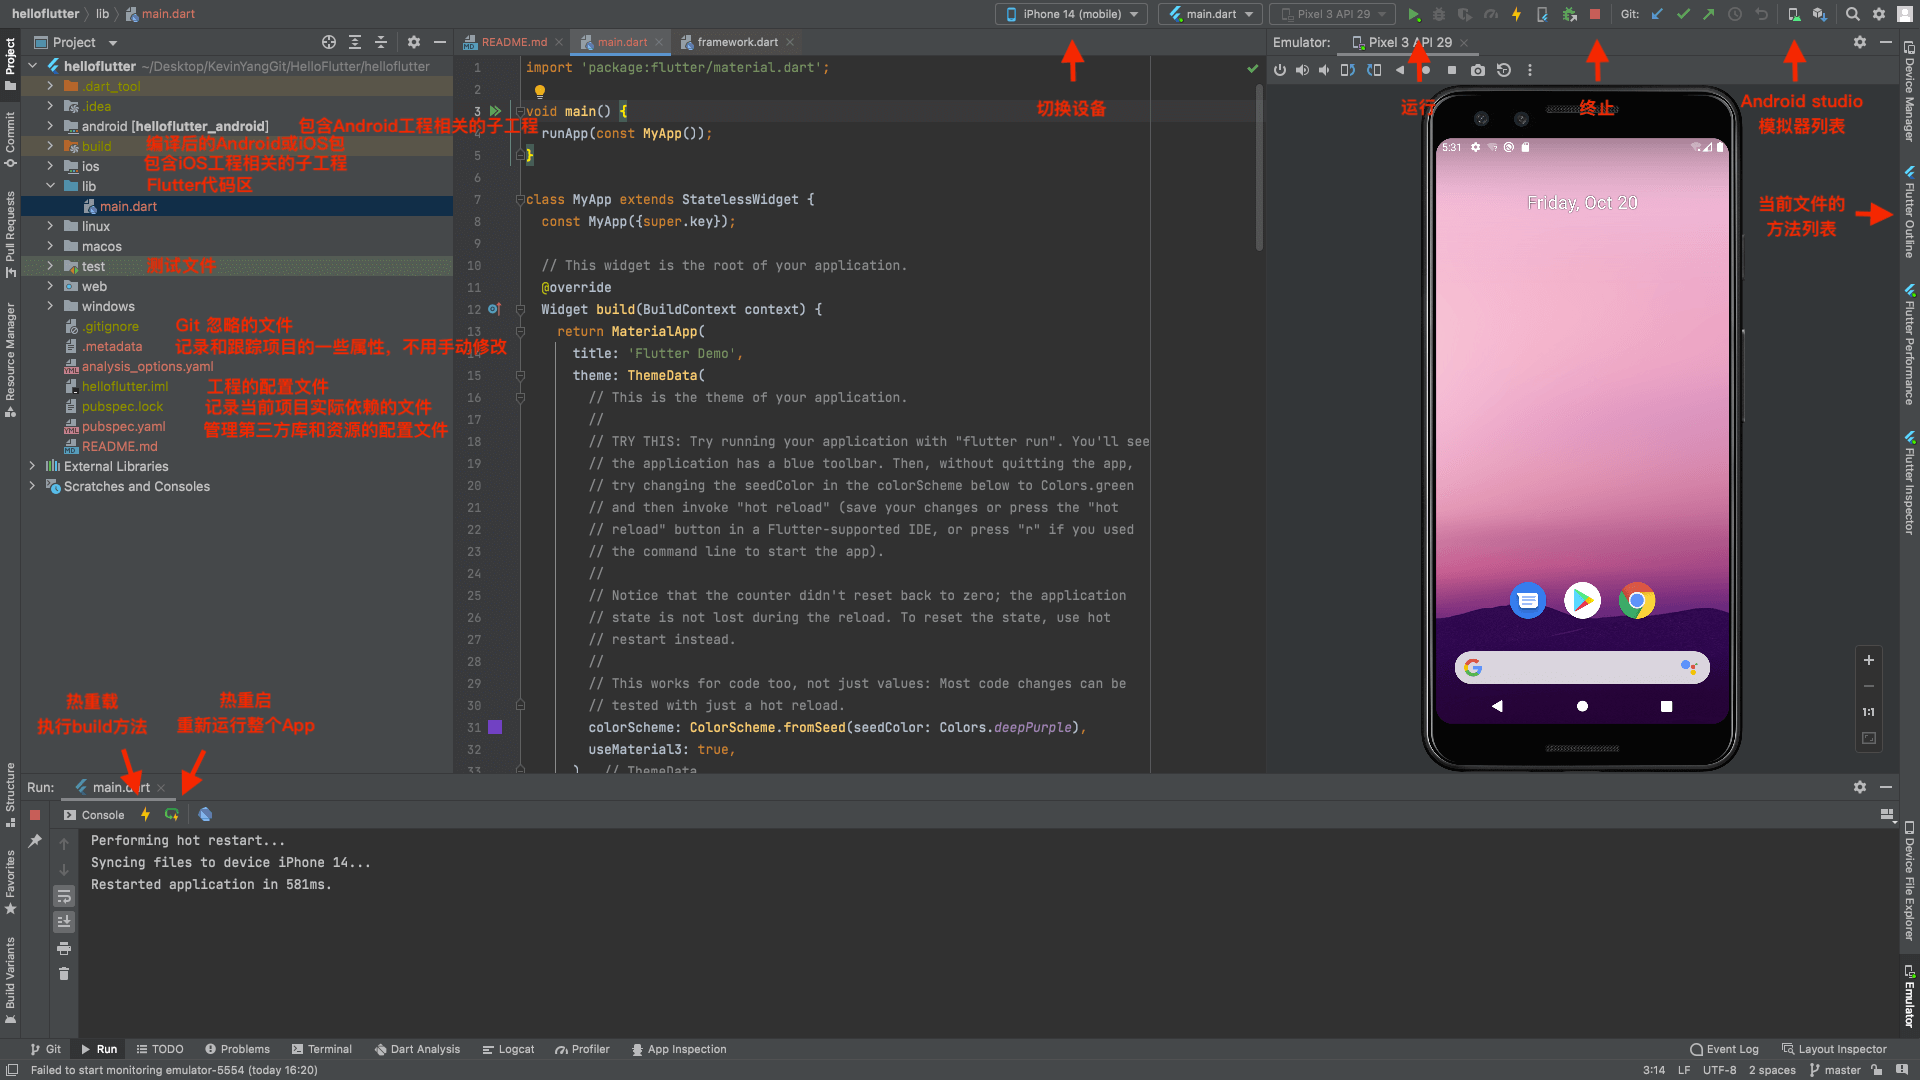
Android studio 简介
第一个项目 Hello world
runApp
/lib 文件里是所有的 Flutter 代码,main.dart 是 App 的入口,添加 main 函数,并在函数内部调用 material.dart 库中的 runApp 方法:
|
|
runApp 是 Flutter 提供的 App 运行函数入口,在 material.dart 库中。material.dart 是 Google 公司推行的一套设计风格。
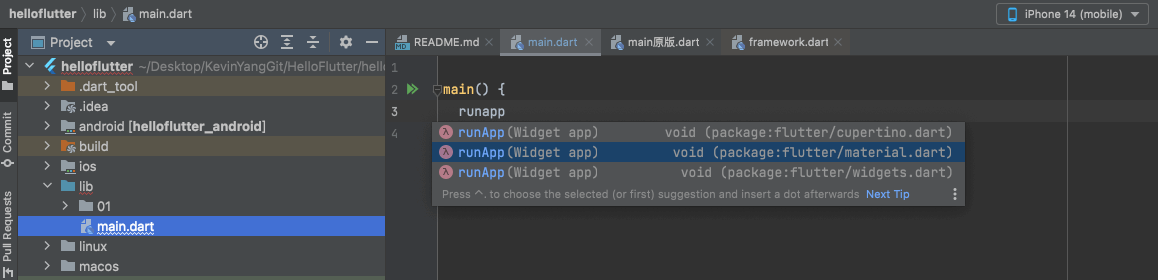
查看 runApp 的源码,可以看到需要传递一个 Widget 类型的参数:
|
|
Widget
Flutter 中所有的内容都是 Widget,而iOS中UIViewController、UIView、UIButton等等都是不同的控件。
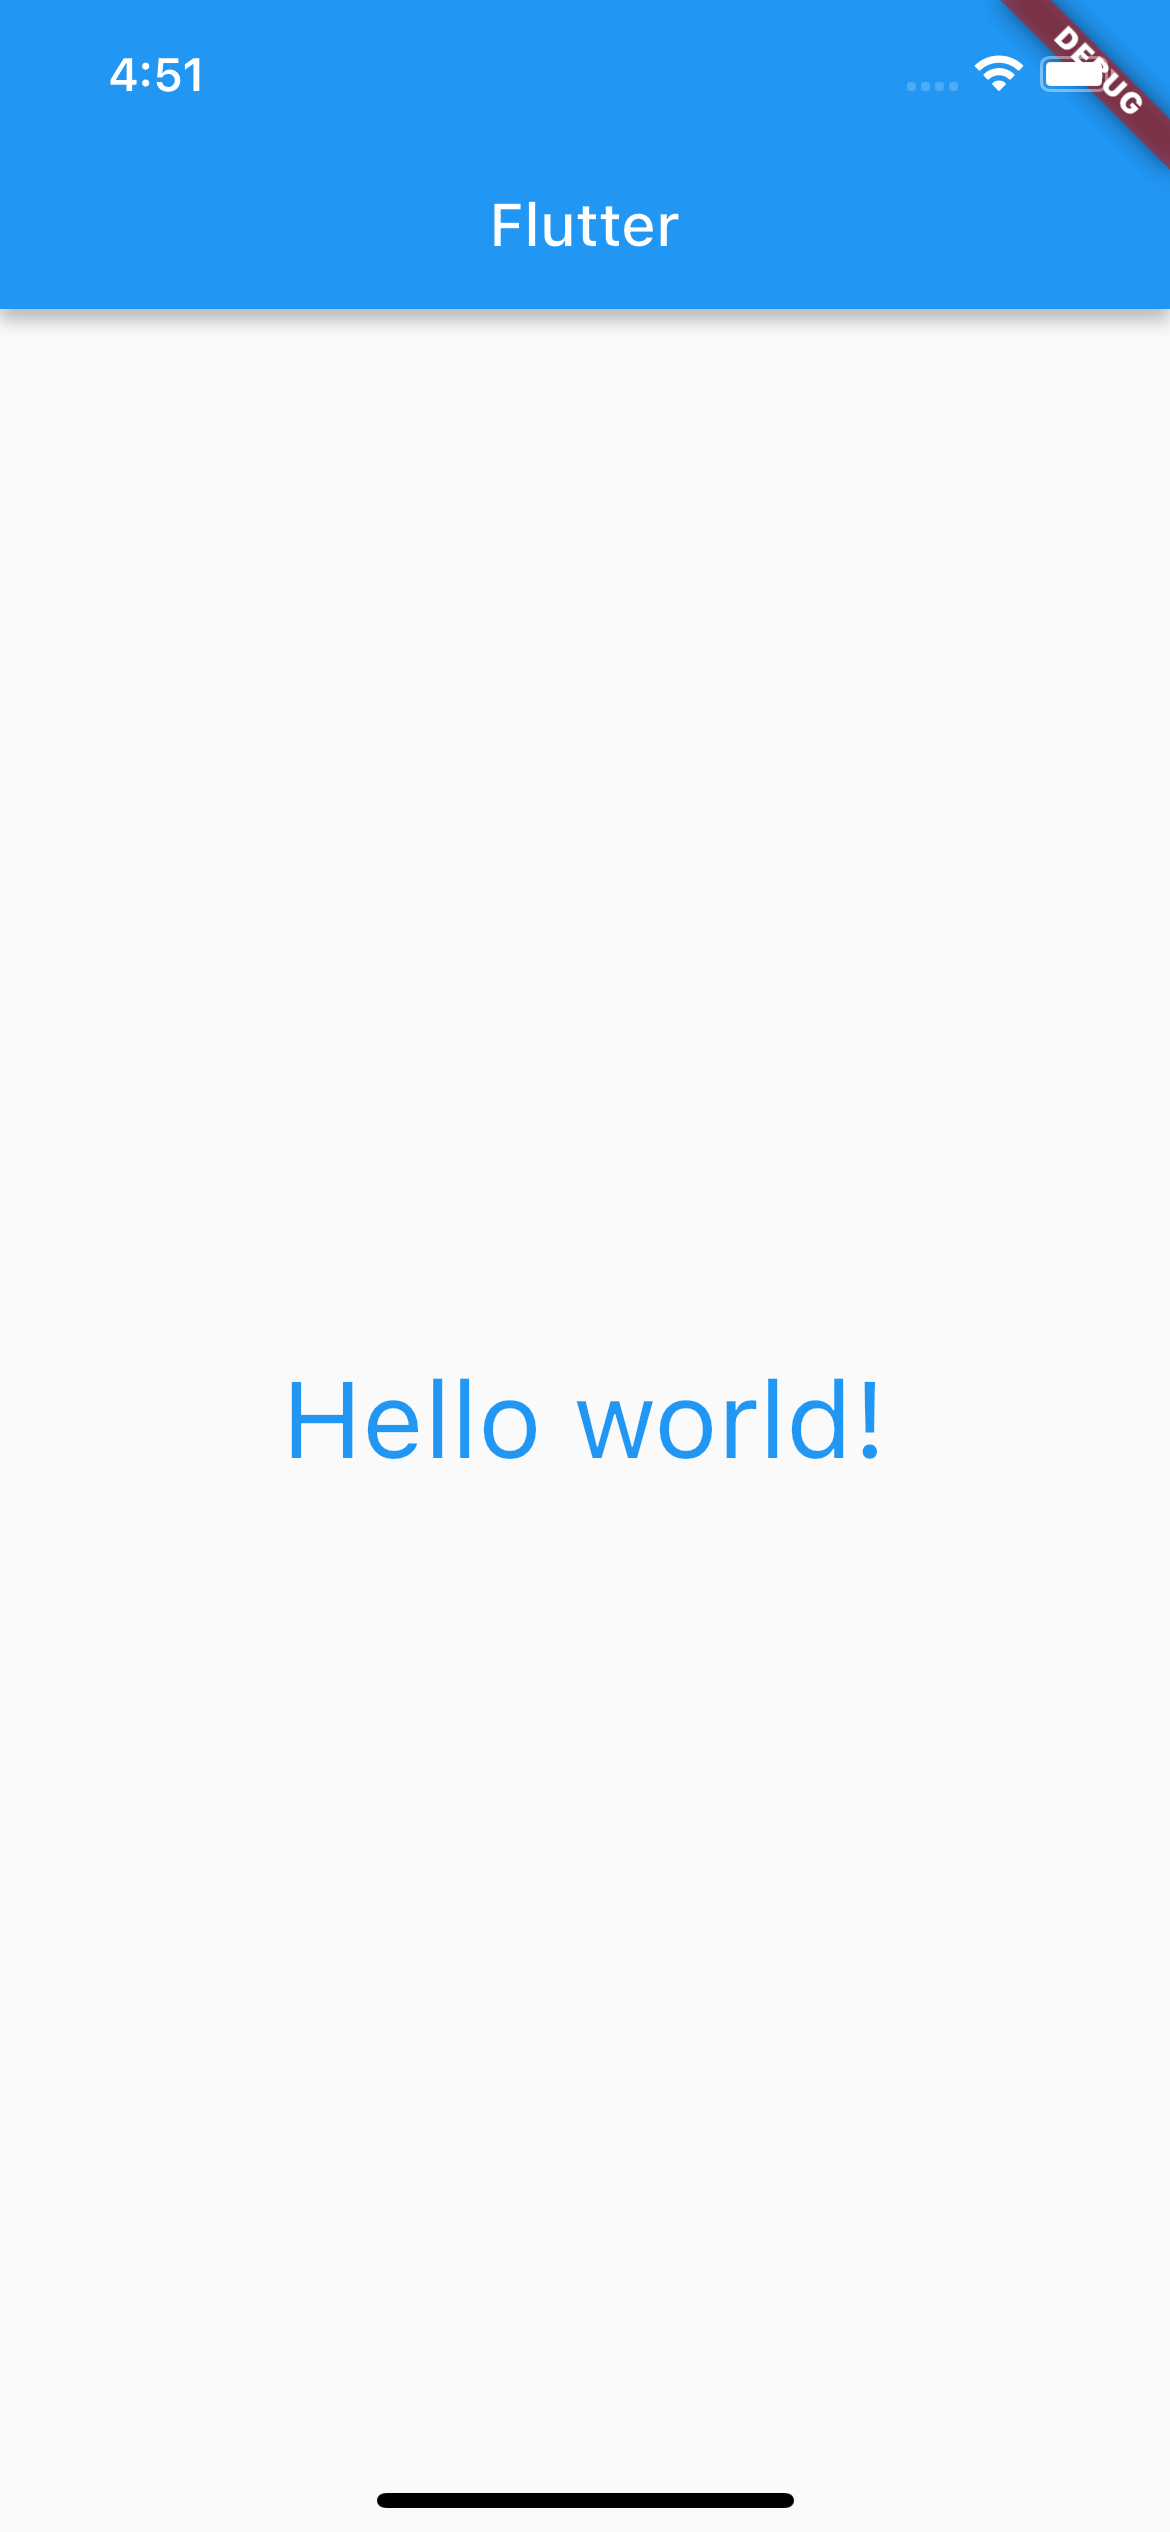
创建一个页面,页面只显示“Hello world!”,传入一个 Text 对象:
|
|
因为是第一次运行项目,所以点击的是Hot Restart(热重启)。

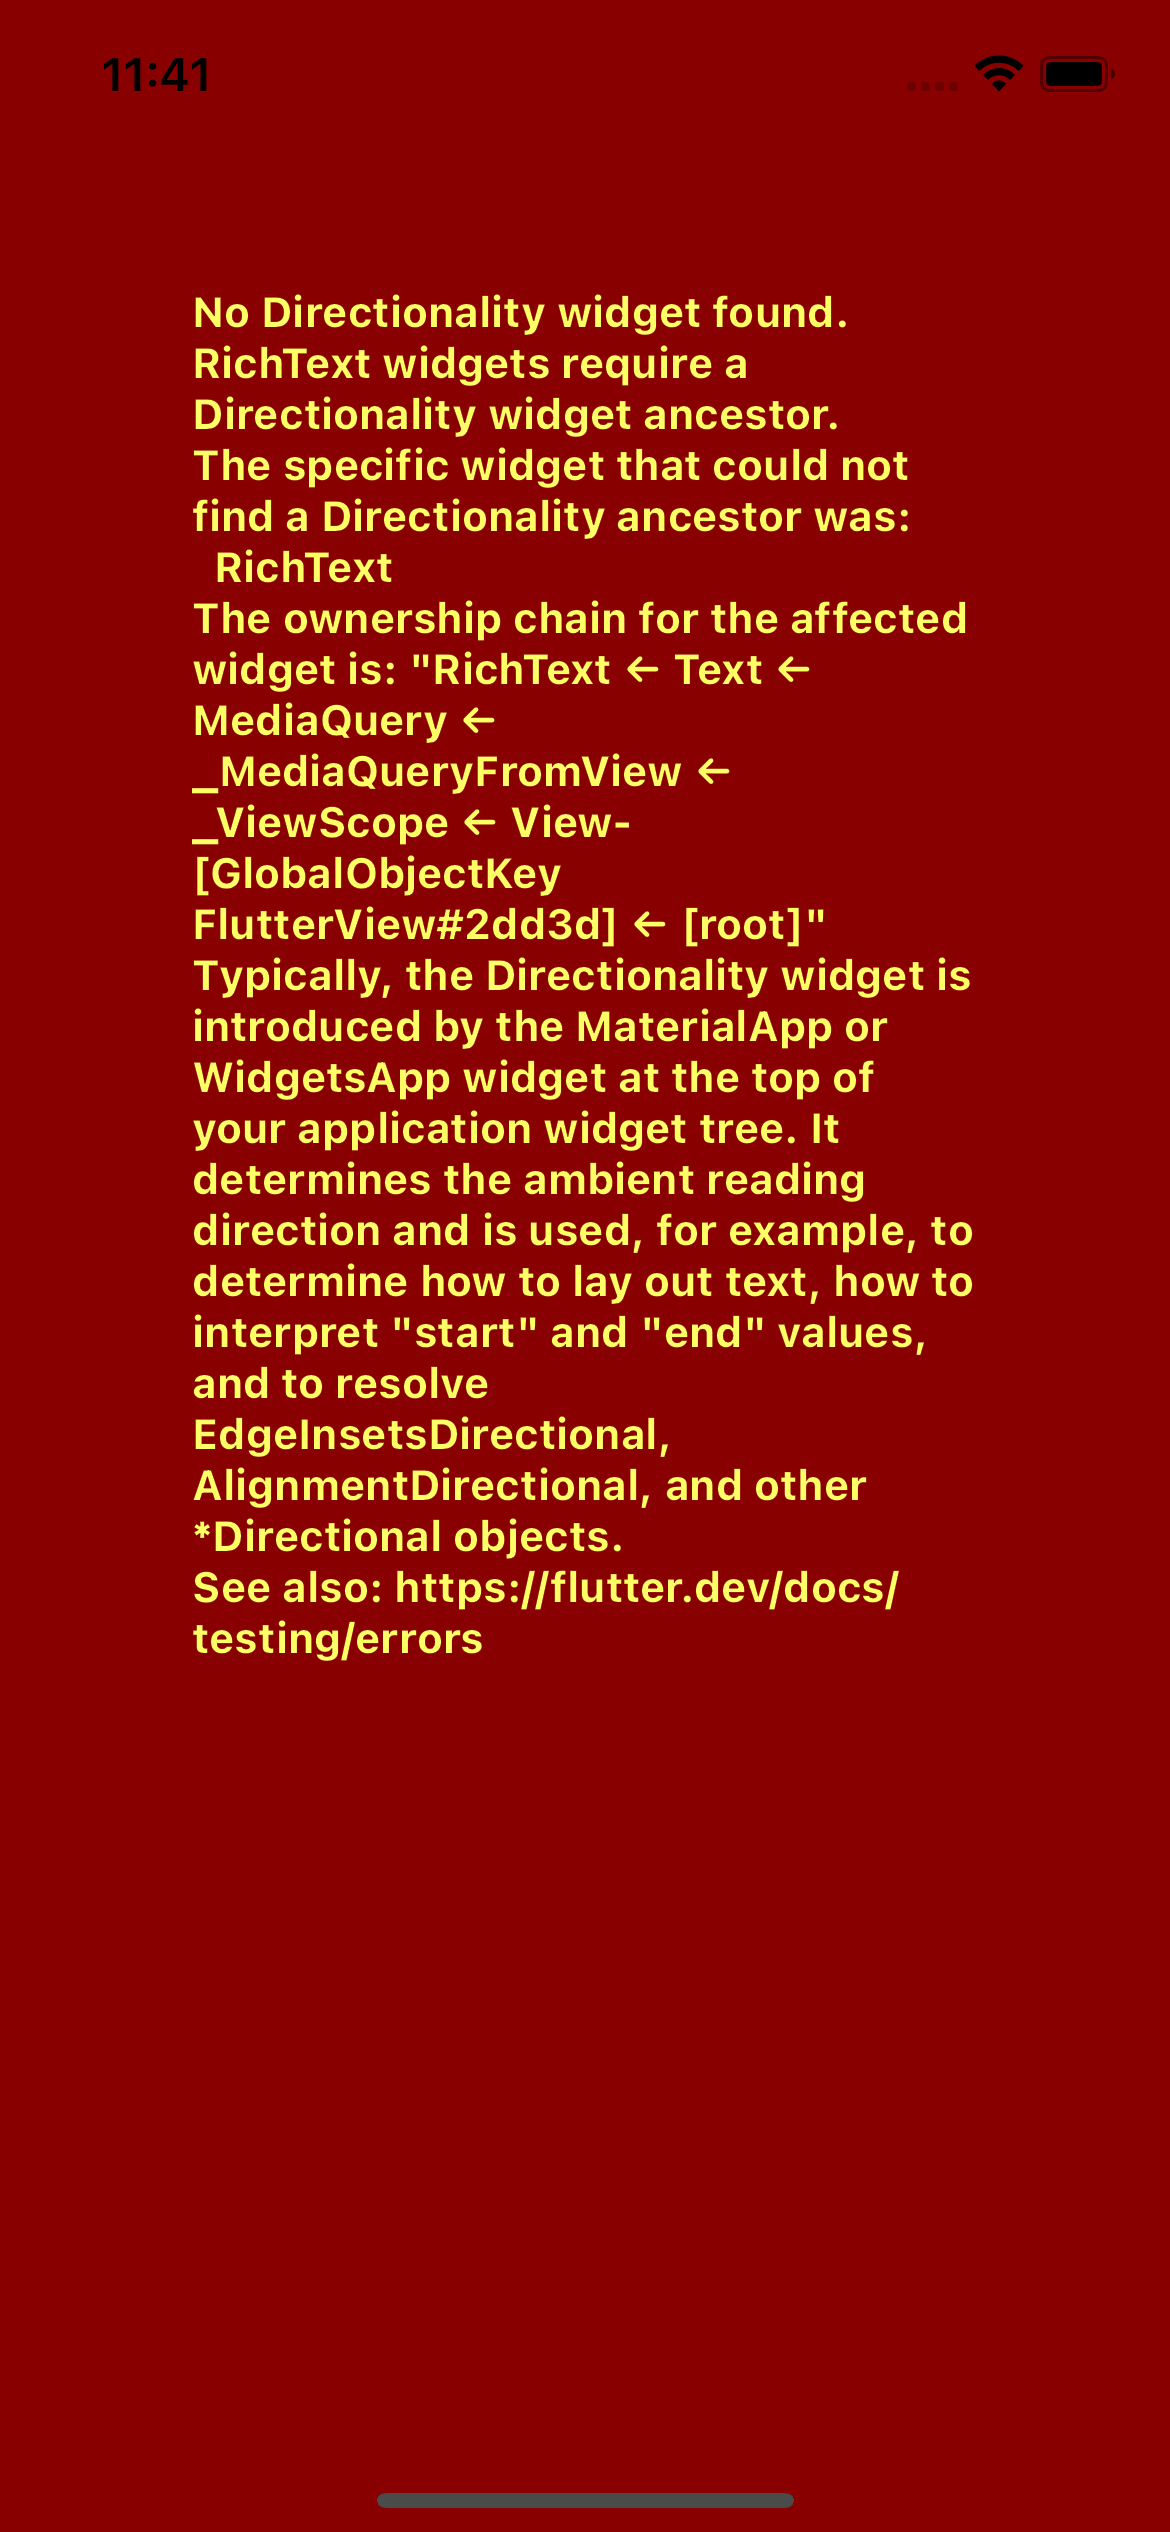
📢注意:页面在单独加载一个 Text 时,需要设置 textDirection,否则会报错:
Center
居中显示,设置字体大小、颜色
|
|

Material
Material 库是由 Flutter 提供的特定风格的组件仓库,让创建页面更加便捷:
|
|
在使用 Material 库创建页面时,需要传入一个home 参数,也就是要创建的页面,它是 Scaffold 类型的。
Scaffold
Scaffold 称为脚手架,用来搭建页面的基本结构,如 appBar(导航栏)、body(内容)等。
设置背景色白色,默认导航栏:
|
|
代码重构
上面的代码嵌套太深,可读性太差。根据功能,对代码进行封装重构。
第一步:抽取 runApp()。
|
|
第二步:抽取 MaterialApp()。
|
|
第三步:抽取 Scaffold。
|
|
在 Flutter 中所有的控件都继承自 Widget,而 Widget 又分为 StatelessWidget 和 StatefulWidget:
StatelessWidget:无状态的Widget,内容在 APP 运行过程中不会发生改变。StatefulWidget:有状态的Widget,内容在 APP 运行过程中会发生改变。
因为在 Hello World 代码中,没有可变的内容,所有用的是 StatelessWidget。
StatelessWidget
StatelessWidget 继承自 Widget,它没有状态。
继承自 StatelessWidget 的自定义控件,不需要维护状态,只需要在构造函数中初始化状态即可。
继承自 StatelessWidget 的自定义控件,必须要实现 build 方法,build 方法返回一个 Widget 对象。
build 方法的调用时机:
- 第一次创建控件时调用;
- 控件状态改变时调用;
- 调用 setState 方法时调用。
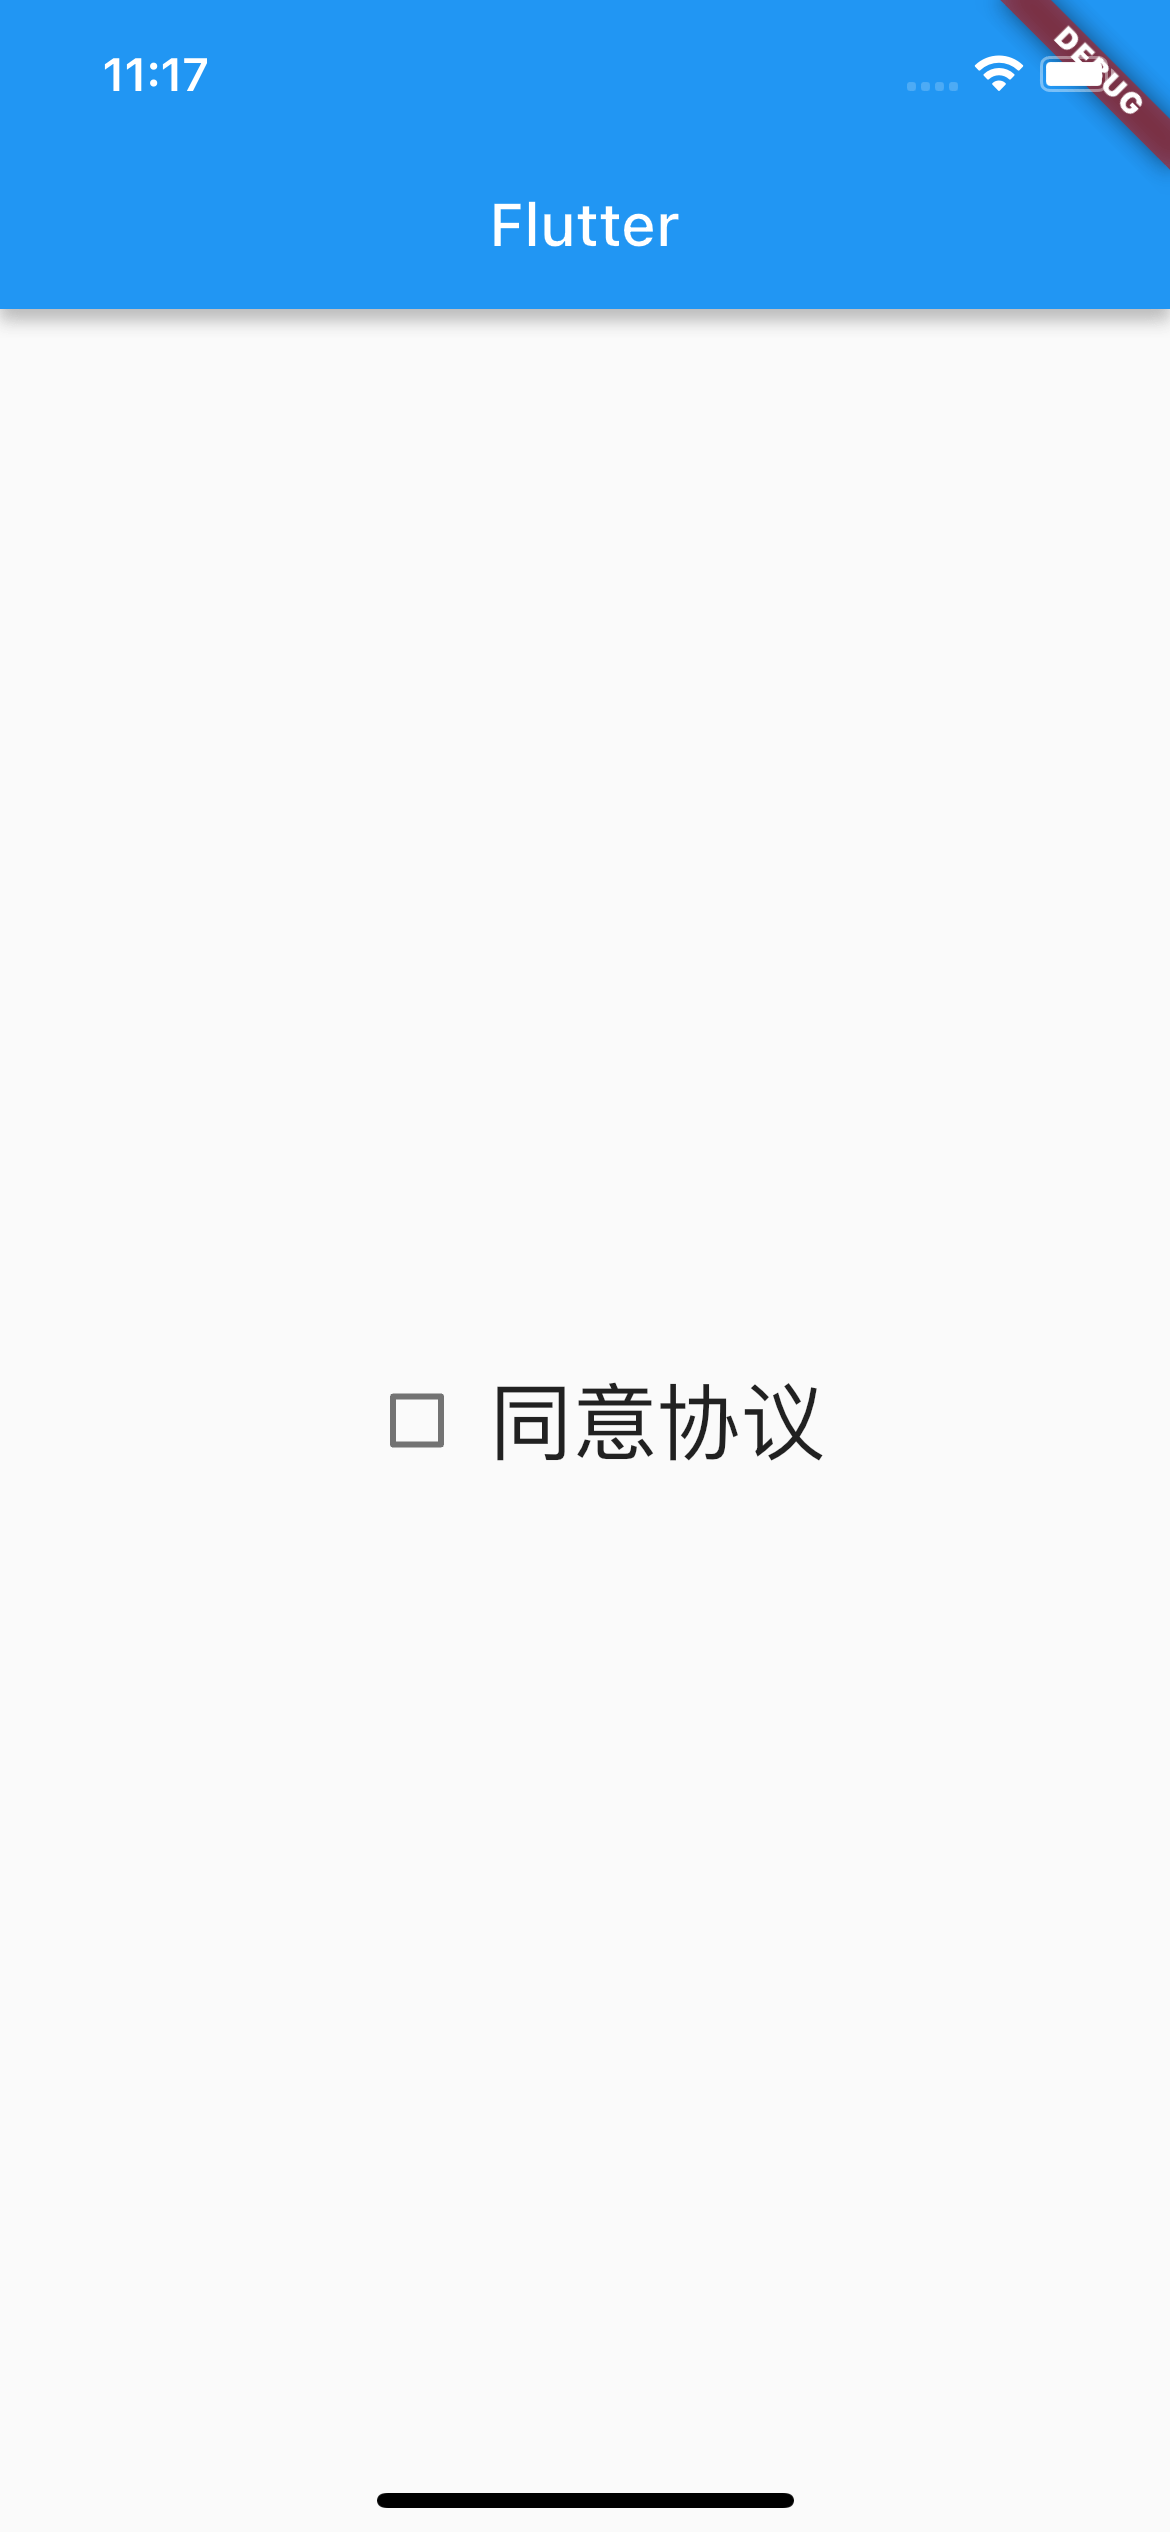
同意协议
|
|
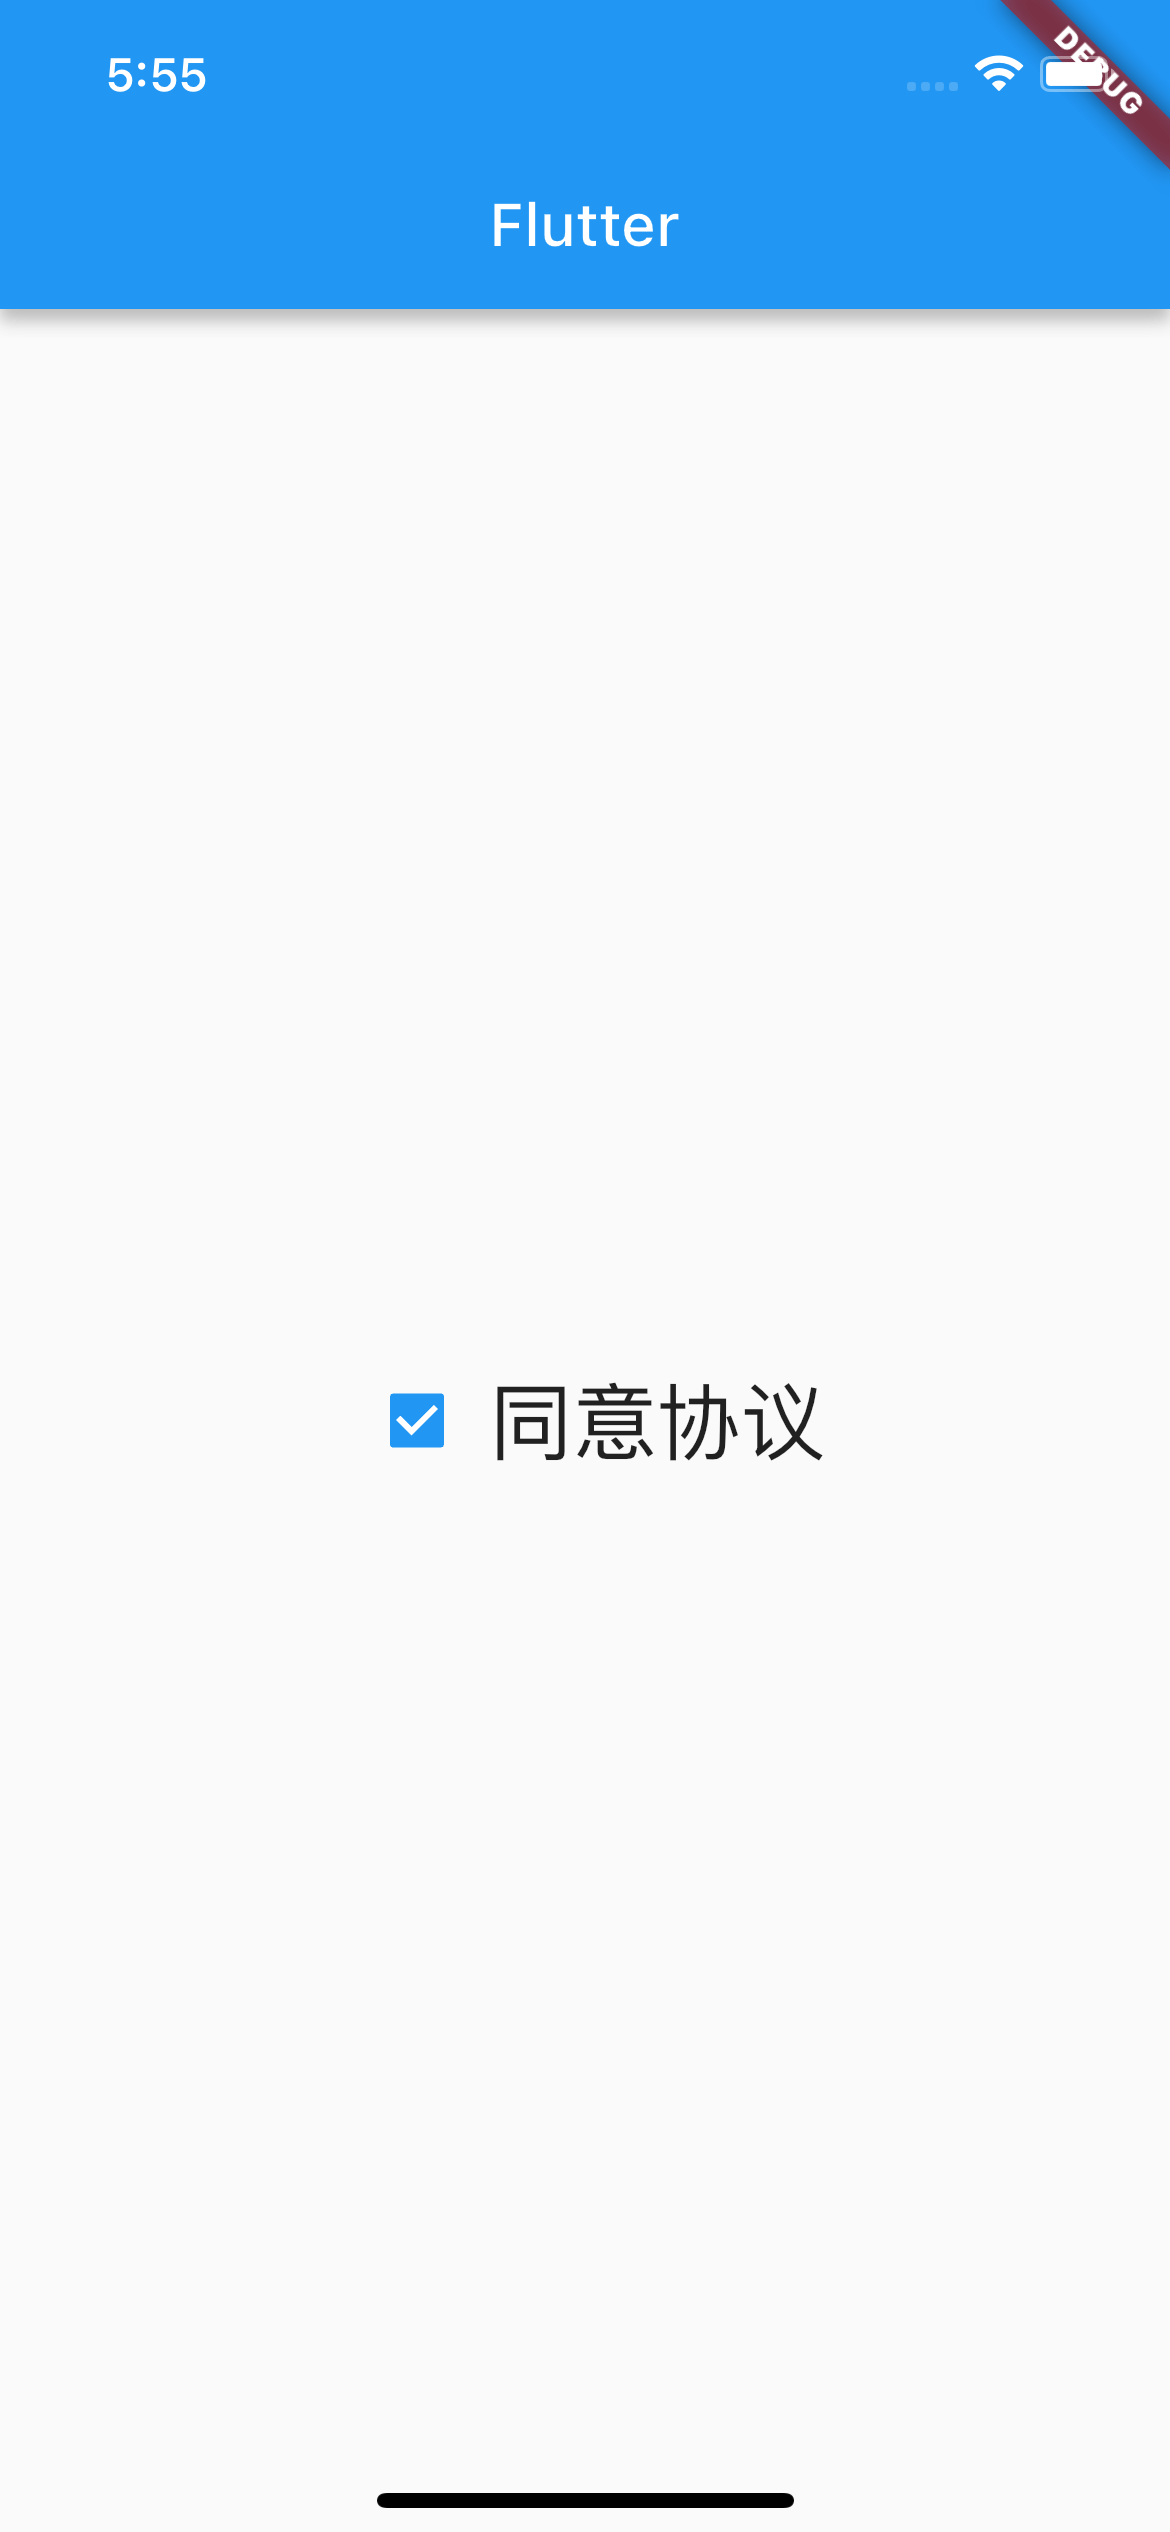
点击勾选框,可以看到打印:
|
|
Row
这里用到了一个控件 Row,即行控件,它在水平方向平铺的,支持创建多个控件,并对其自动布局:
|
|
StatefulWidget & State
继承 StatefulWidget 的类,可以介绍父 Widget 传递的数据 State(状态)。StatefulWidget 通过创建一个单独的类来记录状态。
|
|
setState
更新UI时,通过调用 setState 方法实现:
- 调用闭包;
- 刷新UI(会重新调用
KYState的build方法);
|
|
列表
Column
|
|
使用 Column 实现自动垂直布局,类比 Row:
|
|
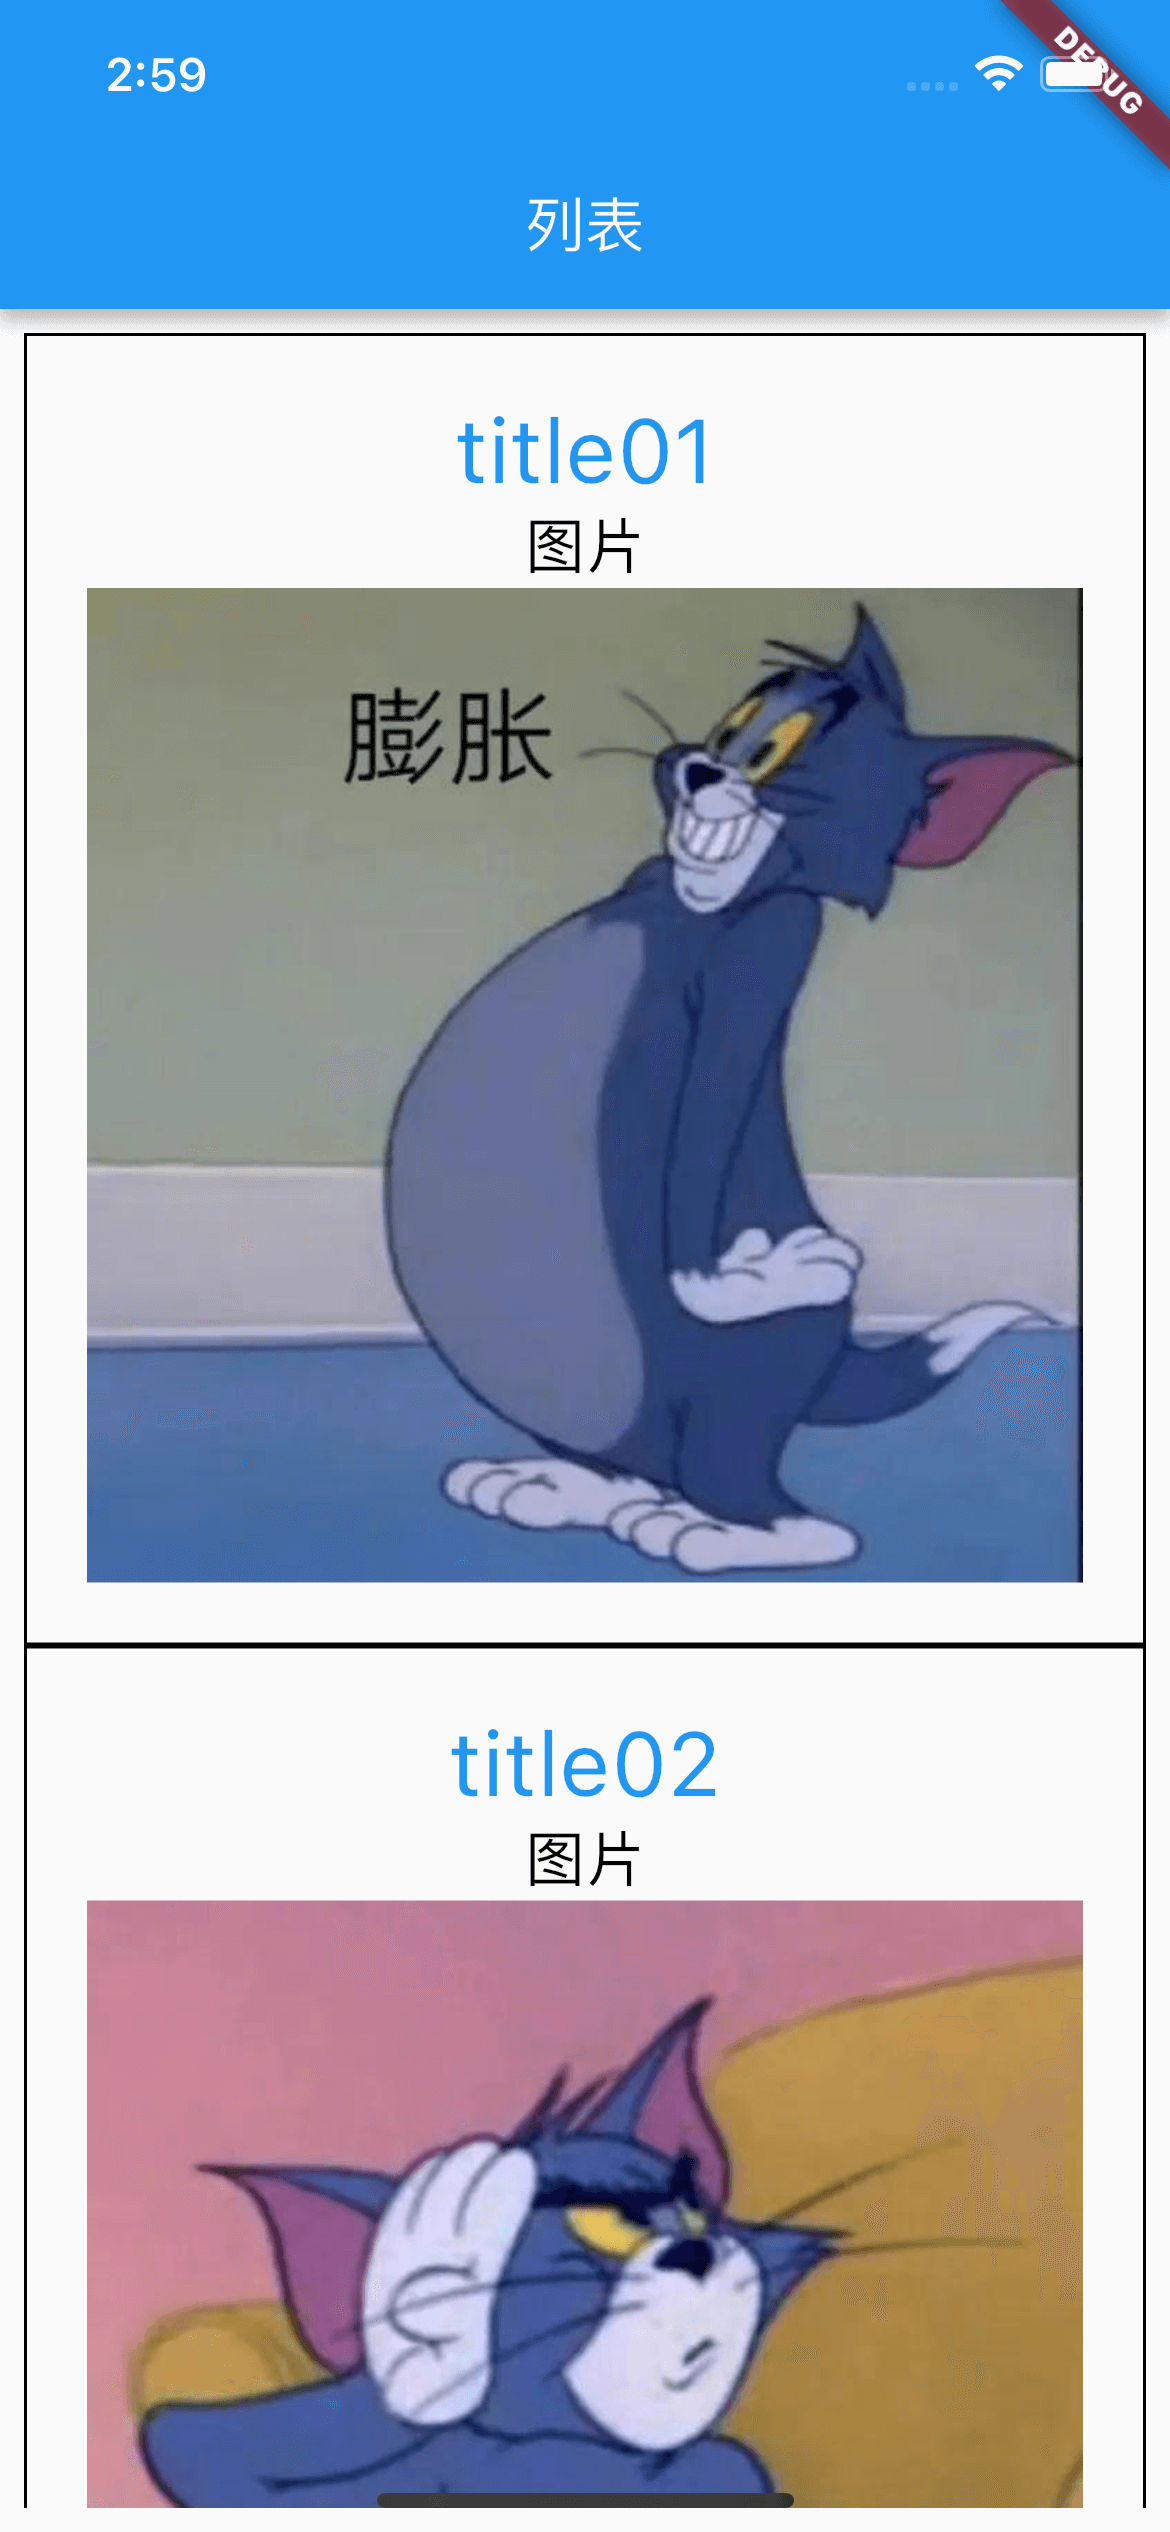
创建多个图片信息,垂直展示:
|
|
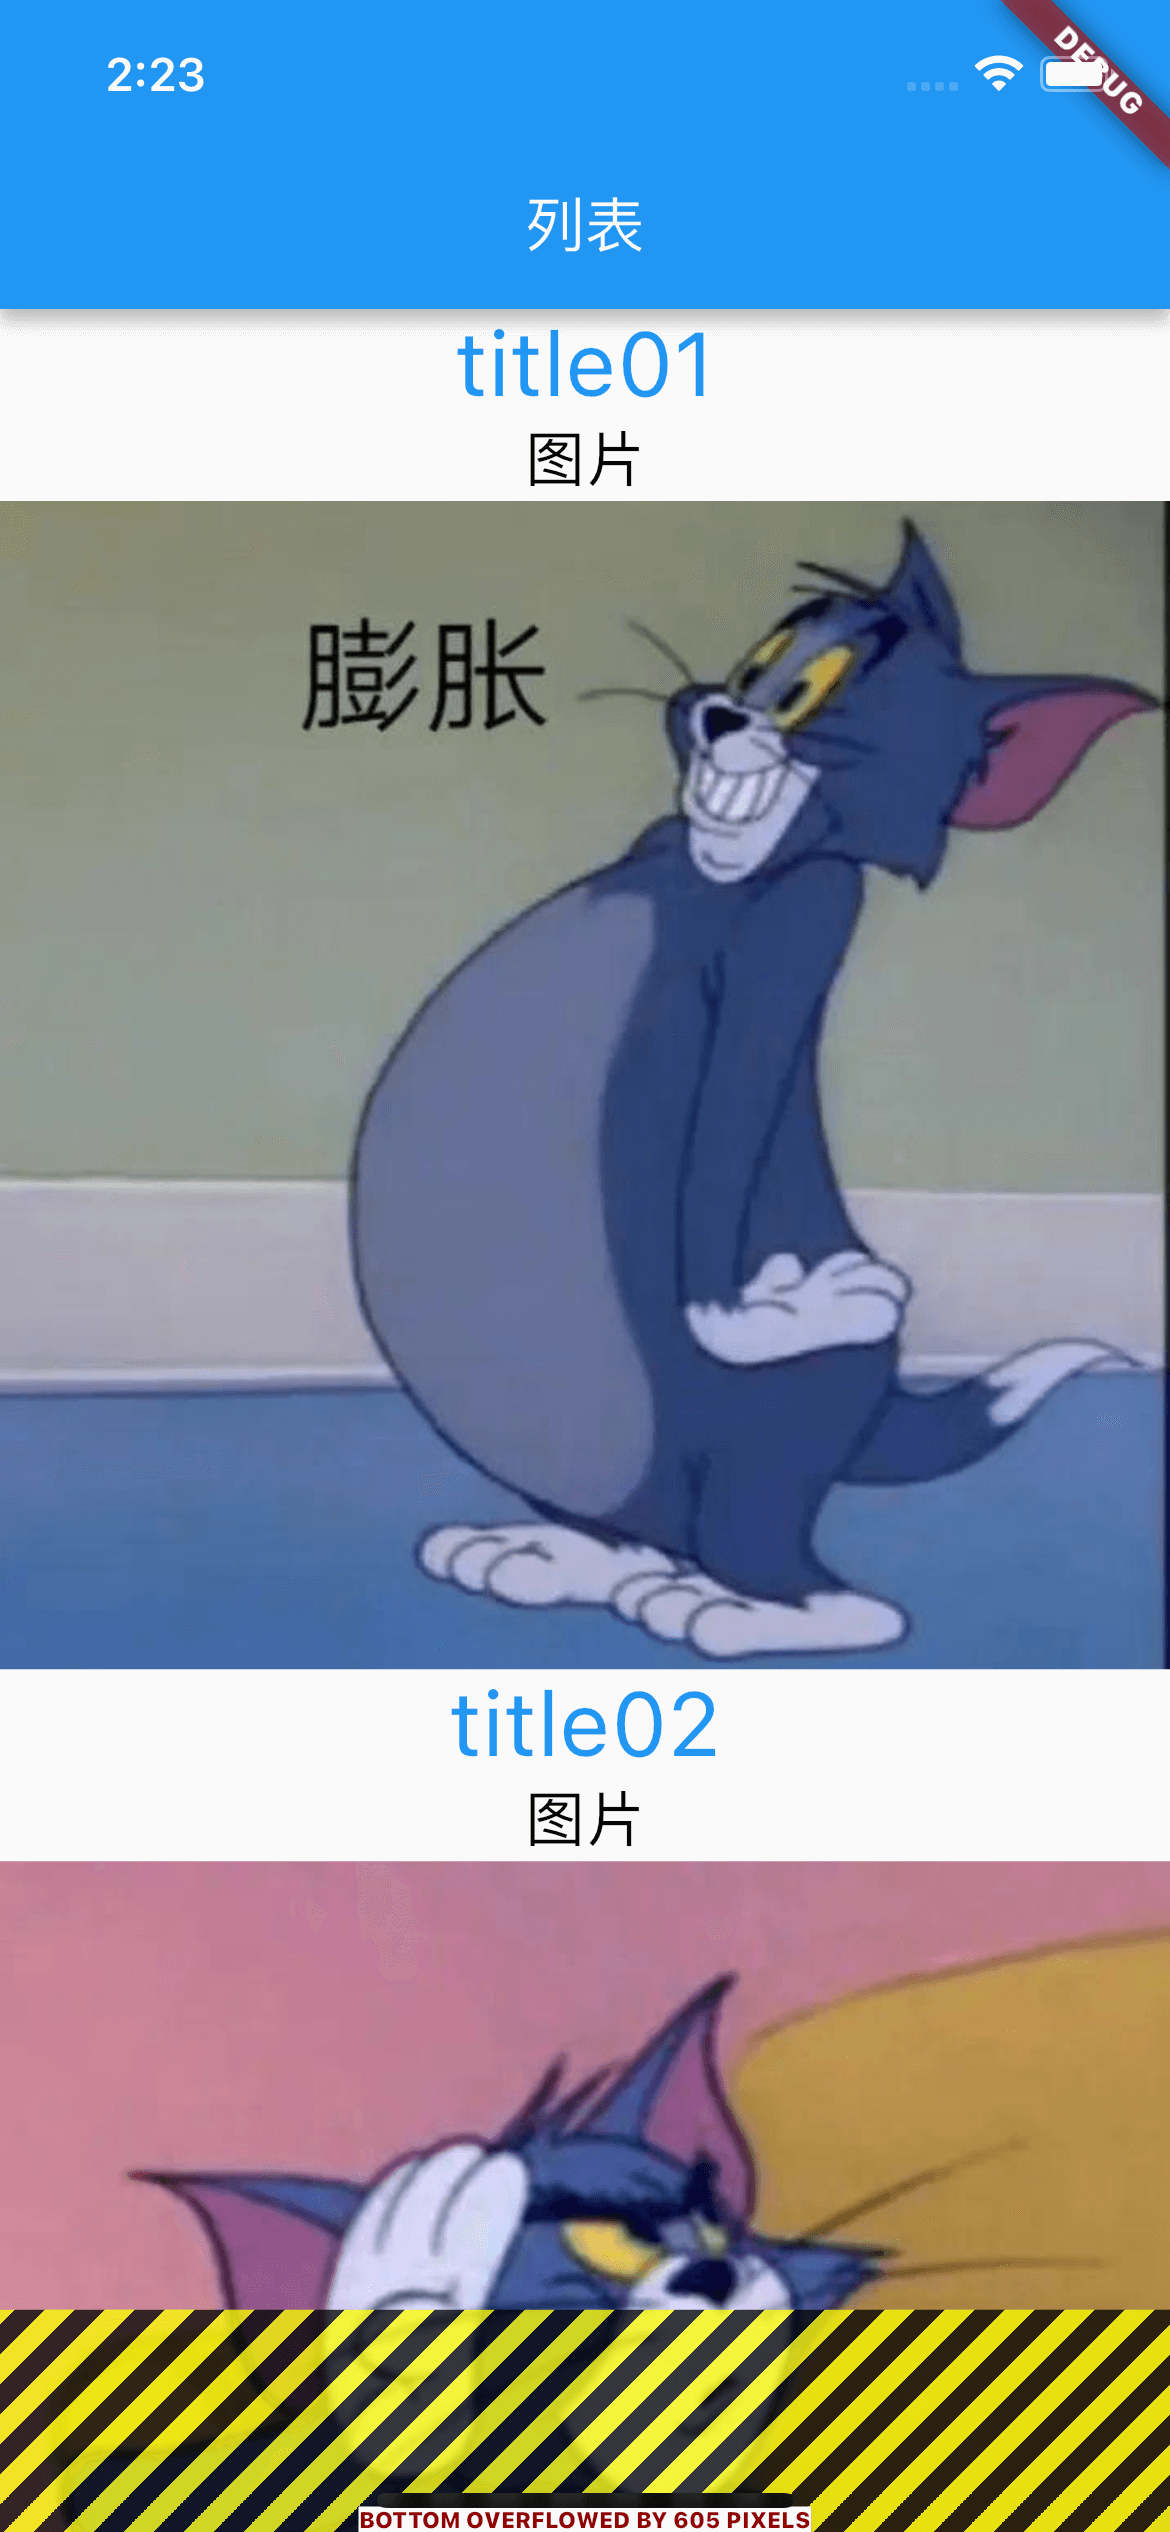
在 Flutter 布局中,内容不能超出屏幕范围,如果超出,超出的部分会出现图中的错误。可以通过将 Column 替换成 ListView 解决。
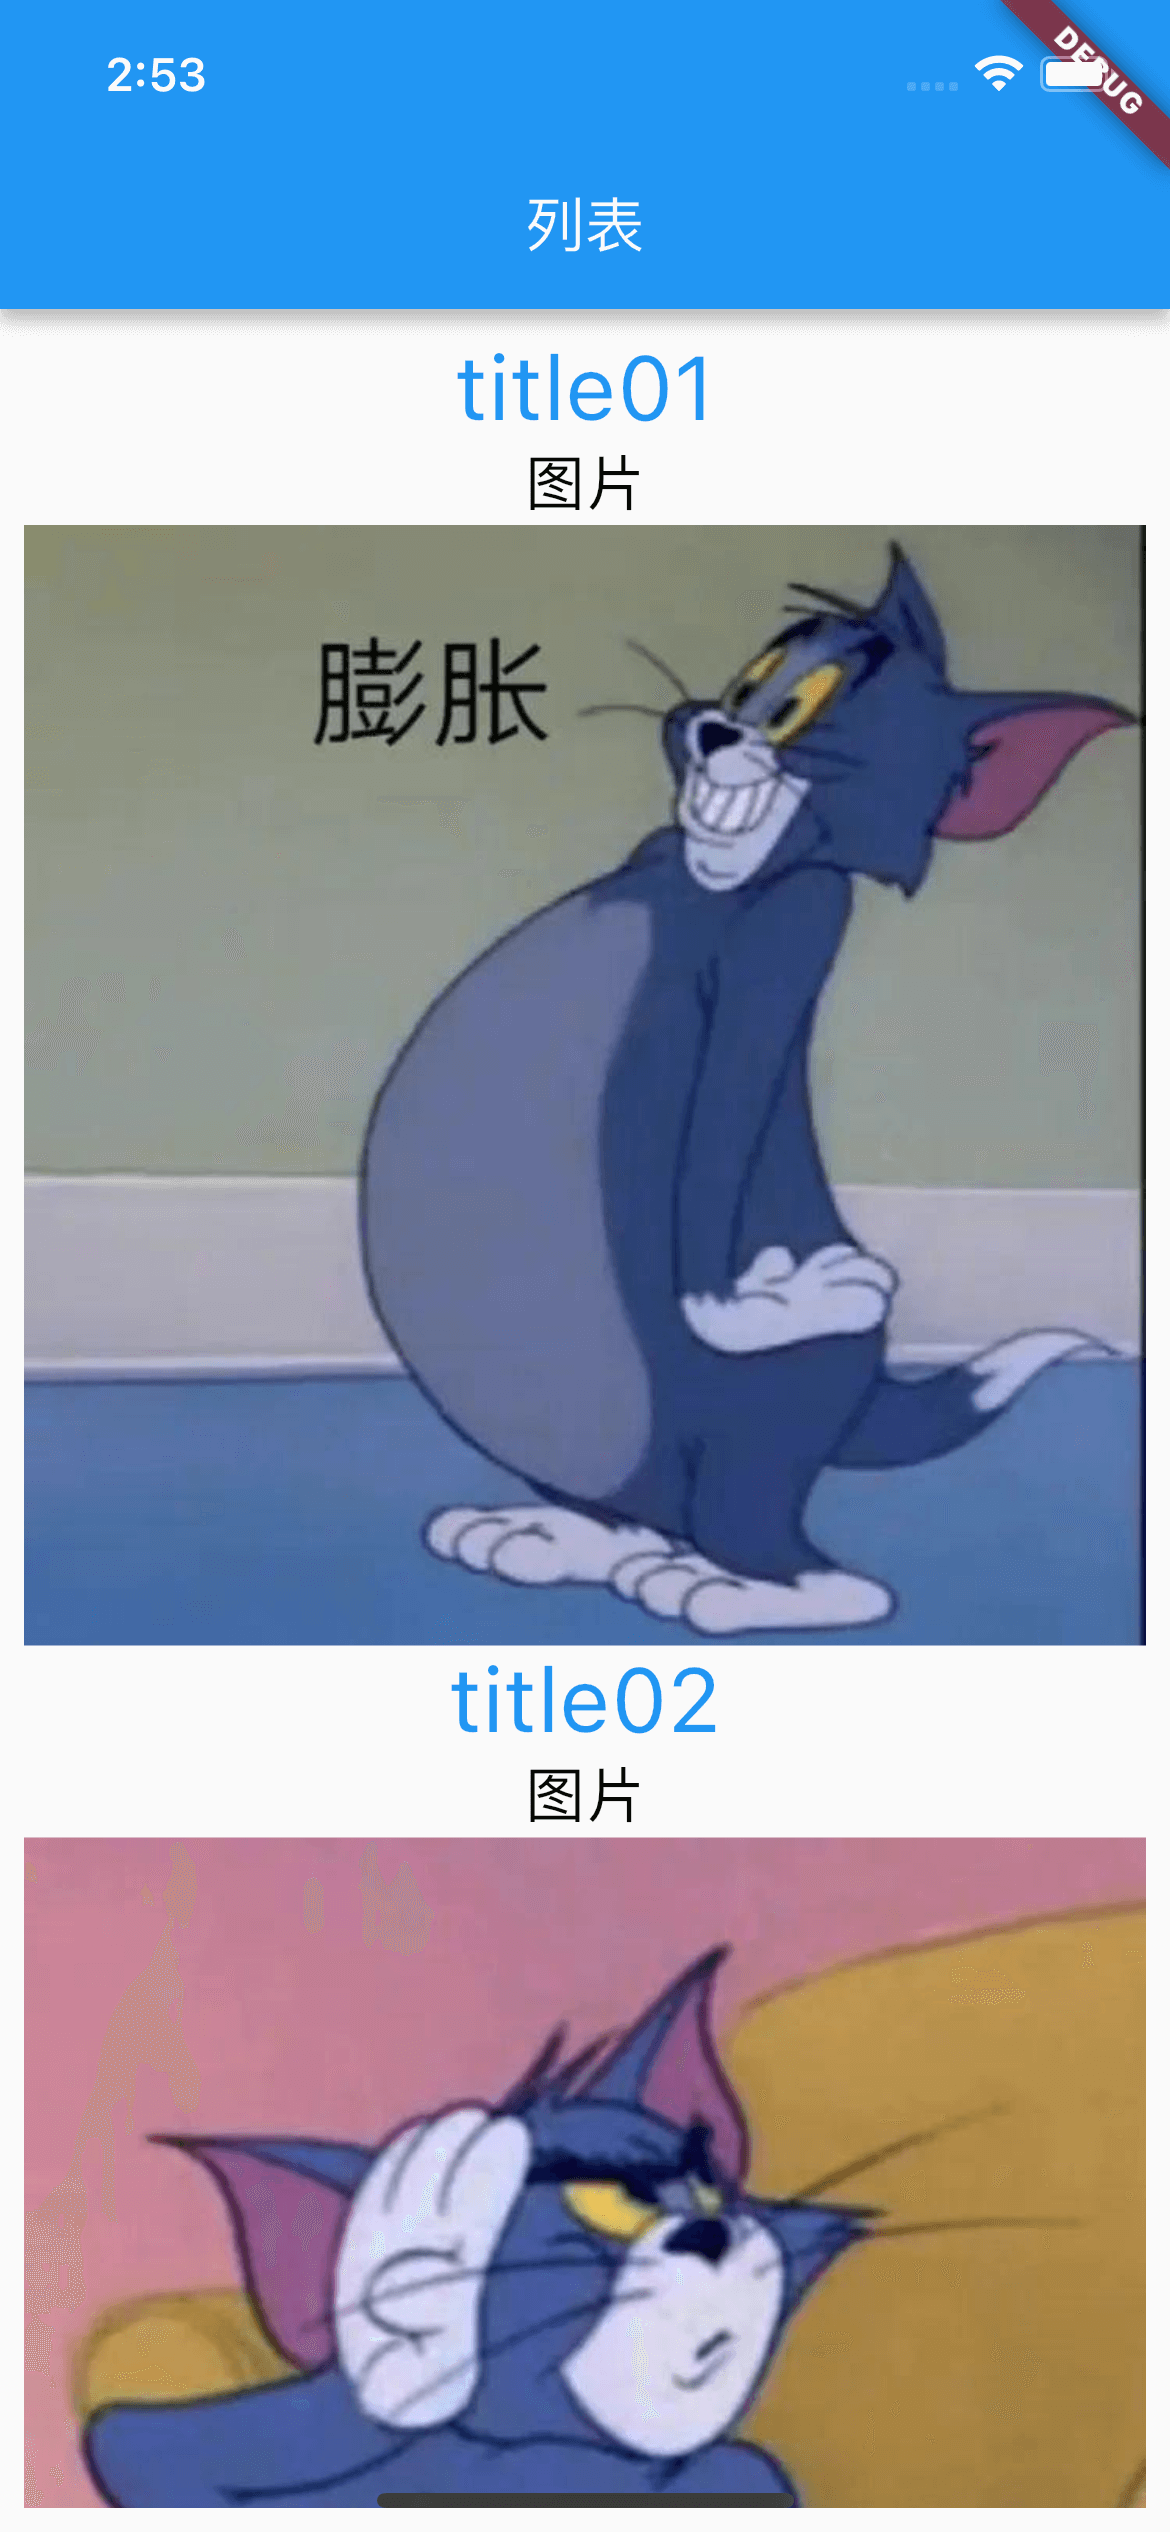
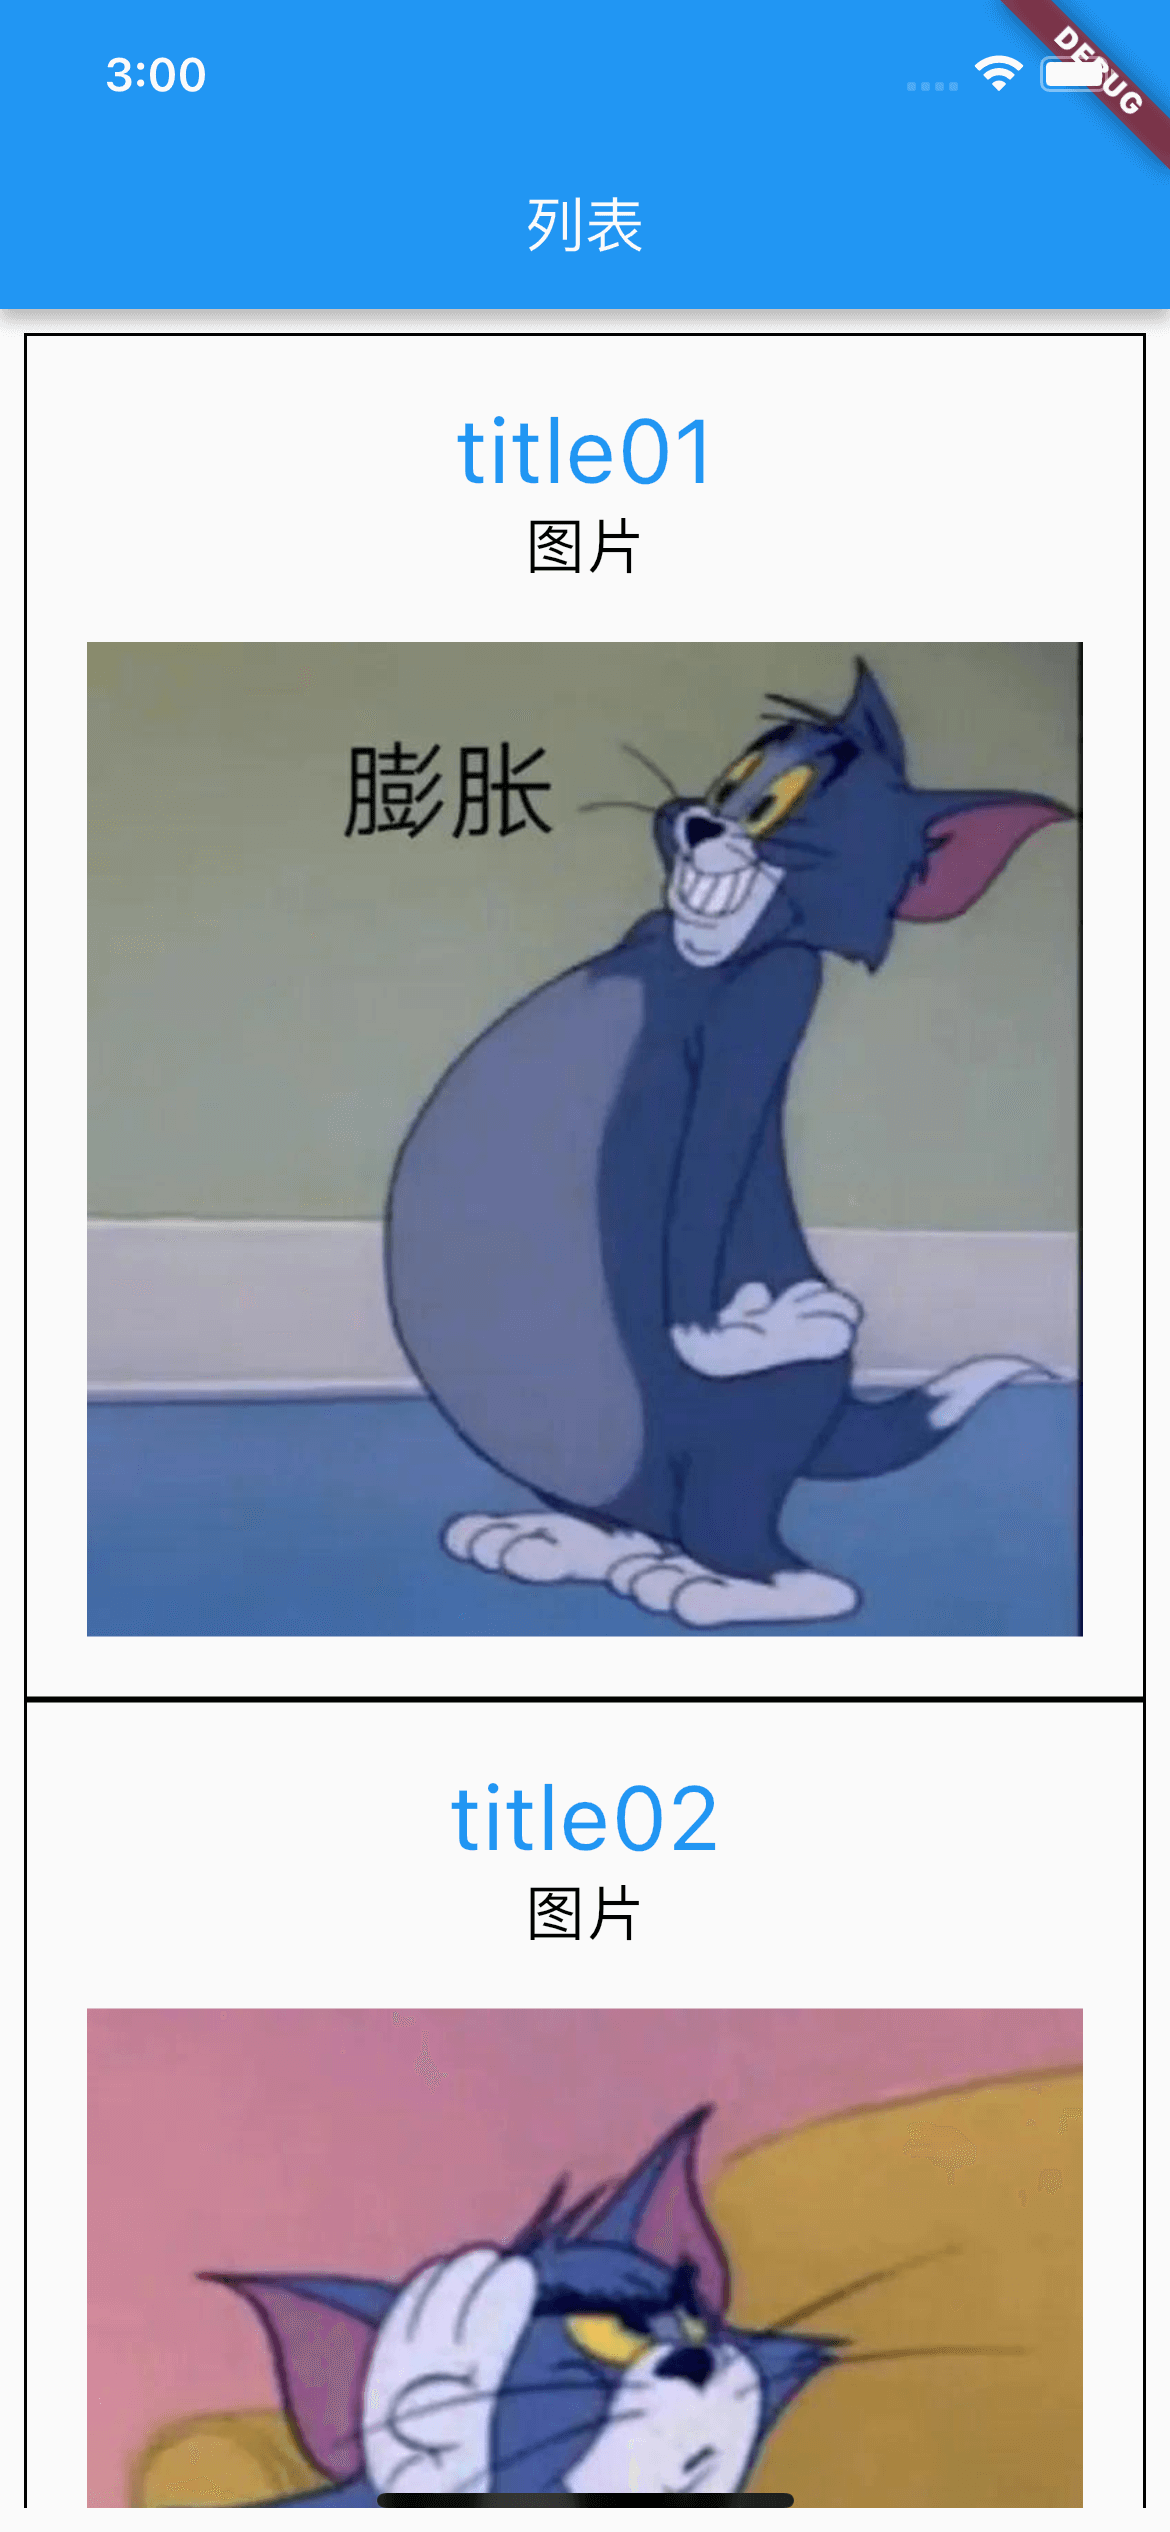
ListView
ListView 可以滚动展示子控件。
|
|

Padding
|
|
Container-Padding
设置产品的内边距。
|
|
SizedBox
使用 SizeBox,在文字和图片之间增加间距。
|
|
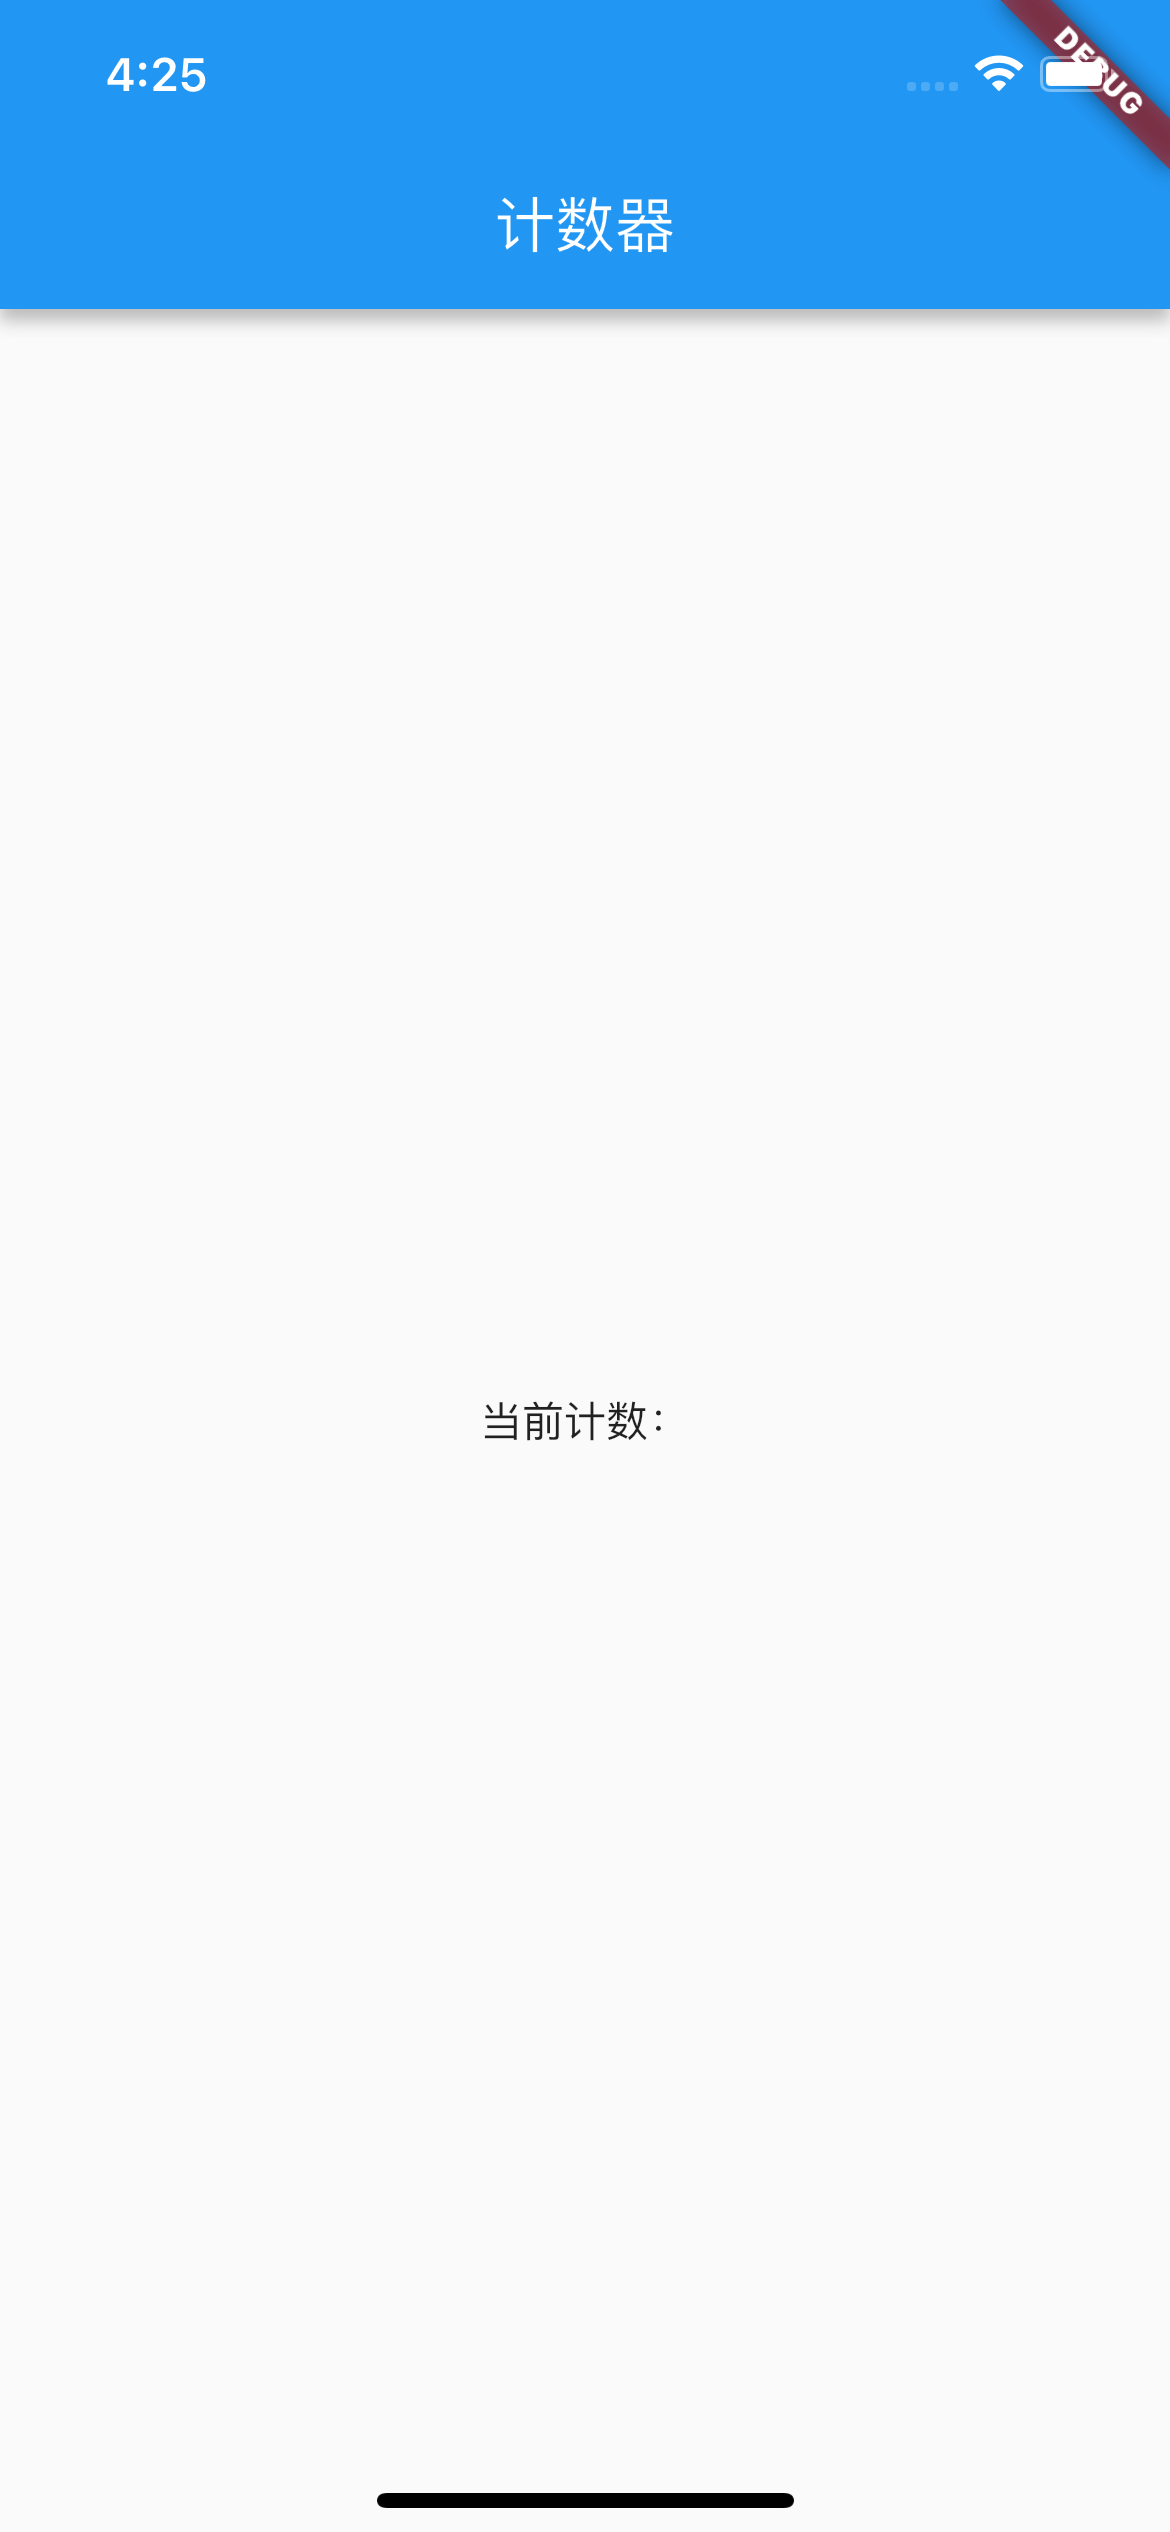
计数器
通过这个项目,了解有状态的 StatefulWidget。
Column & Row
|
|
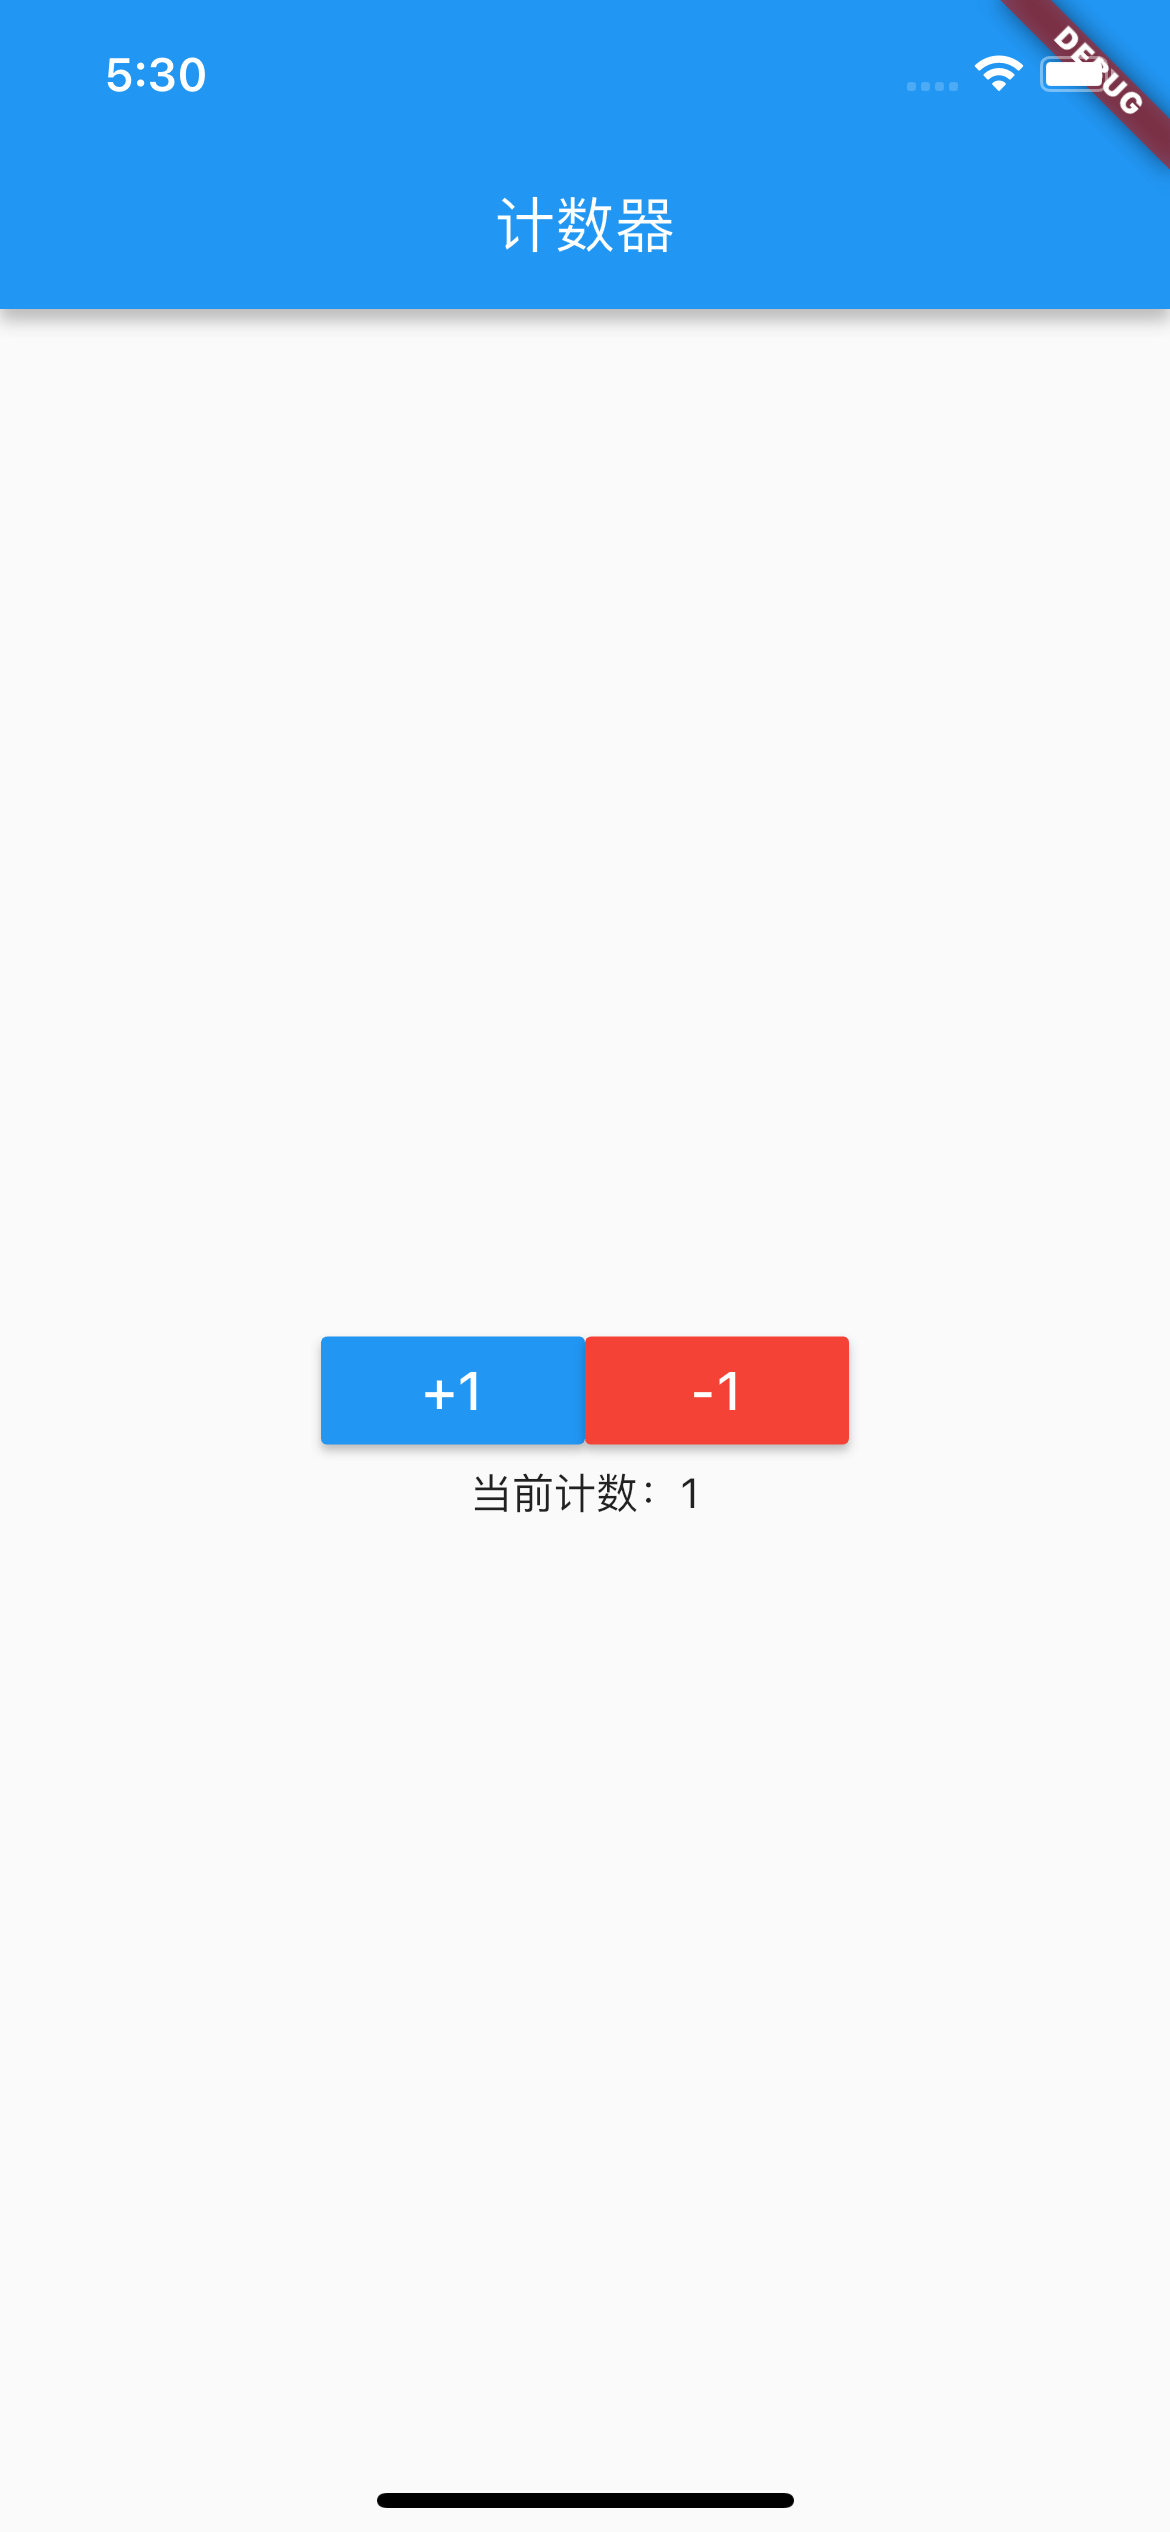
MaterialButton
添加按钮,使用 MaterialButton 样式。
|
|
添加 +1 和 -1 按钮后的代码:
|
|
setState()
点击按钮修改计数:
|
|
StatefulWidget
在“列表”和“计数器”中,都用到了 StatefulWidget 和 State 的组合拳,在编译器中输入 stful 可以快速敲出:
|
|
Flutter 将 StatefulWidget 设计成了两个类的组合方式:
StatefulWidget作为Widget树的一部分;State记录对应StatefulWidget的状态。
查看 StatefulWidget 源码:
|
|
创建 StatefulWidget 的一般步骤:
1、自定义一个 StatefulWidget 类型的控件,并返回一个 State 类型的状态对象。
|
|
2、自定义一个 State<KYBody> 类型的状态对象,内部可以定义变量用于记录特定的状态。
|
|
StatefulWidget 声明周期
以计数器代码为例:
|
|
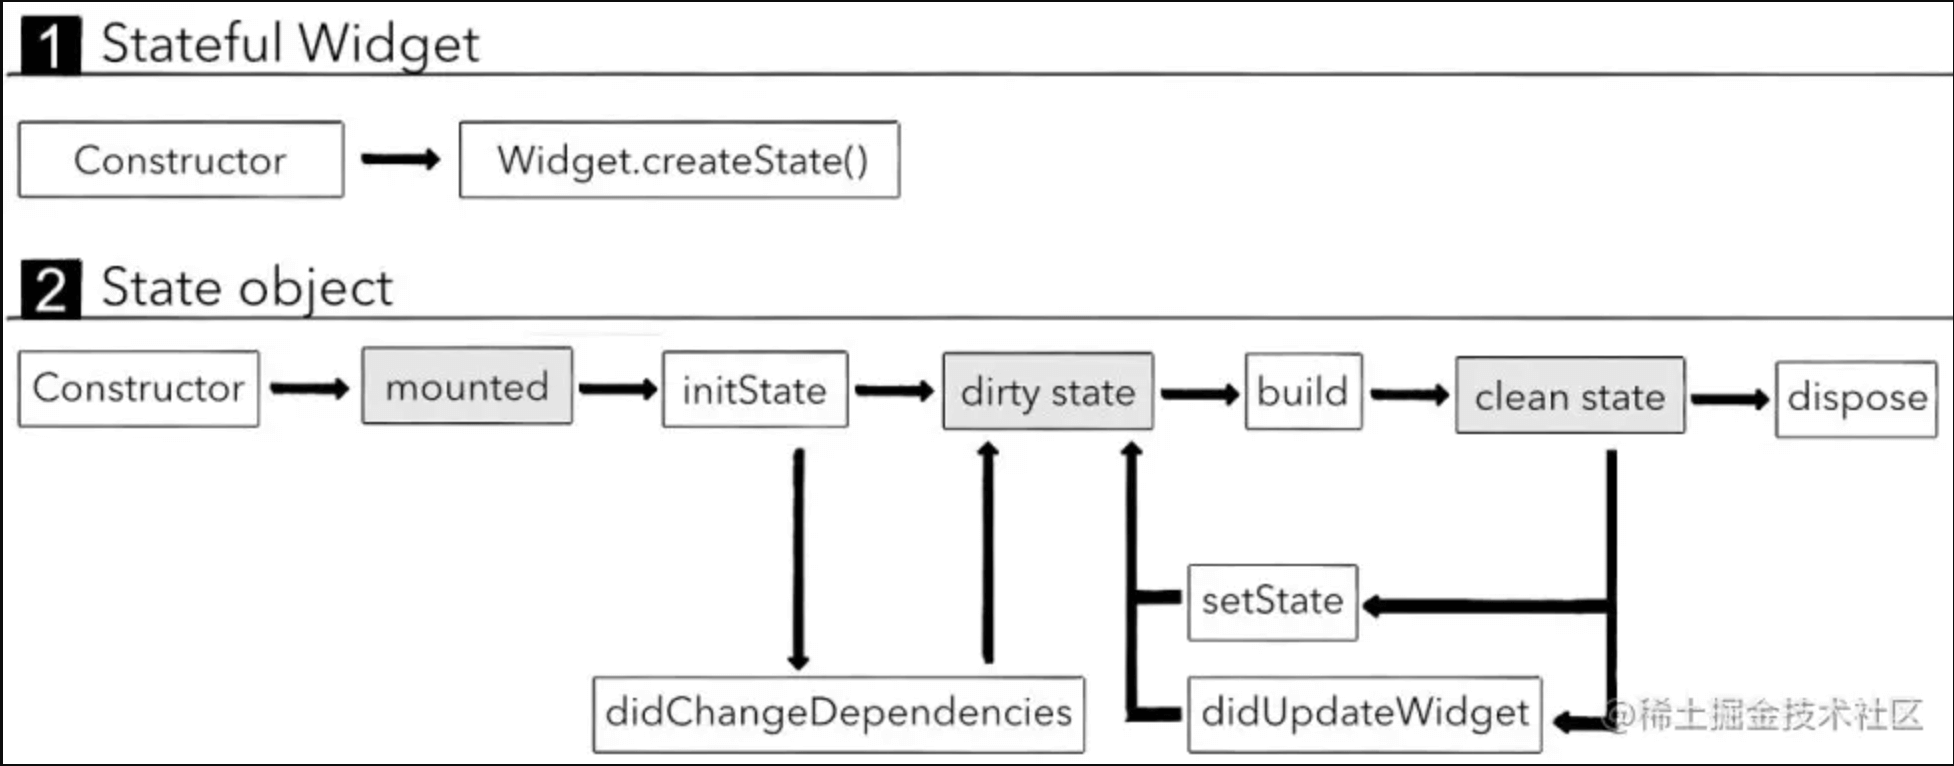
(ps:图片来自Flutter(七)之有状态的StatefulWidget)
图片中灰色部分是 Flutter 的内部操作,白色部分是可监听的方法。
启动程序
点击 Run 'main.dart' 按钮运行程序,打印日志:
|
|
1、首先,执行 StatefulWidget 的构造方法
|
|
2、然后,执行 createState() 方法
|
|
3、执行 State 的构造方法
|
|
4、执行 State 的 init 方法
|
|
5、执行 didChangeDependencies() 方法
|
|
6、最后,执行 State 的 build 方法,运行成功
|
|
热重启
然后点击 Flutter Hot Restart 热重启,打印日志:
|
|
1、首先执行 body 的 build 方法
|
|
2、首先,执行 StatefulWidget 的构造方法
|
|
3、然后,执行 createState() 方法
|
|
4、执行 State 的构造方法
|
|
5、执行 State 的 init() 方法
|
|
6、执行 didChangeDependencies() 方法
|
|
7、执行 State 的 build() 方法
|
|
8、判断是热重启,继续执行 State 的 reassemble() 方法
|
|
8、再次执行 body 的 build() 方法
|
|
9、因为执行了 body 的 build() 方法,所以自然也要再执行 StatefulWidget 的构造方法。因为 init() 方法是在插入到树中时调用,所有不会调用。
|
|
10、执行 State 的 didUpdateWidget() 方法(每当小部件配置更改时调用)
|
|
11、最后,执行 Steate 的 build() 方法,运行成功
|
|
热重载
然后点击 Flutter Hot Reload 热重载,打印日志:
|
|
1、判断是热重载,执行 State 的 reassemble() 方法
|
|
2、执行 body 的 build() 方法
|
|
3、因为执行了 body 的 build() 方法,所以自然也要再执行 StatefulWidget 的构造方法。因为 init() 方法是在插入到树中时调用,所有不会调用。
|
|
4、执行 State 的 didUpdateWidget() 方法(每当小部件配置更改时调用)
|
|
5、最后,执行 Steate 的 build() 方法,运行成功
|
|
手动调用 setState() 方法
然后点击“+1”按钮,打印日志:
|
|
可以看到,点击“+1”按钮调用了 setState() 方法,程序重新执行了 KYState 的 build 方法。
dirty state
图片中灰色部分是 Flutter 的内部操作,白色部分是可监听的方法。
Flutter 会为需要更新的 Widget 添加标记,被添加了标记的状态称为 dirty state。
Flutter 在执行热重启或热重载时,会刷新所有的 dirty state,调用其对应 Widget 的 build() 方法,同时将其标记为为 clean state。
Flutter 会忽略 clean state 标记的 Widget。
@requested
必传参数:如果不传,编译时会报错。
@requested修饰的参数:如果不传,编译时不会报错,但是运行时会报错。
快捷键
开发工具:Android studio
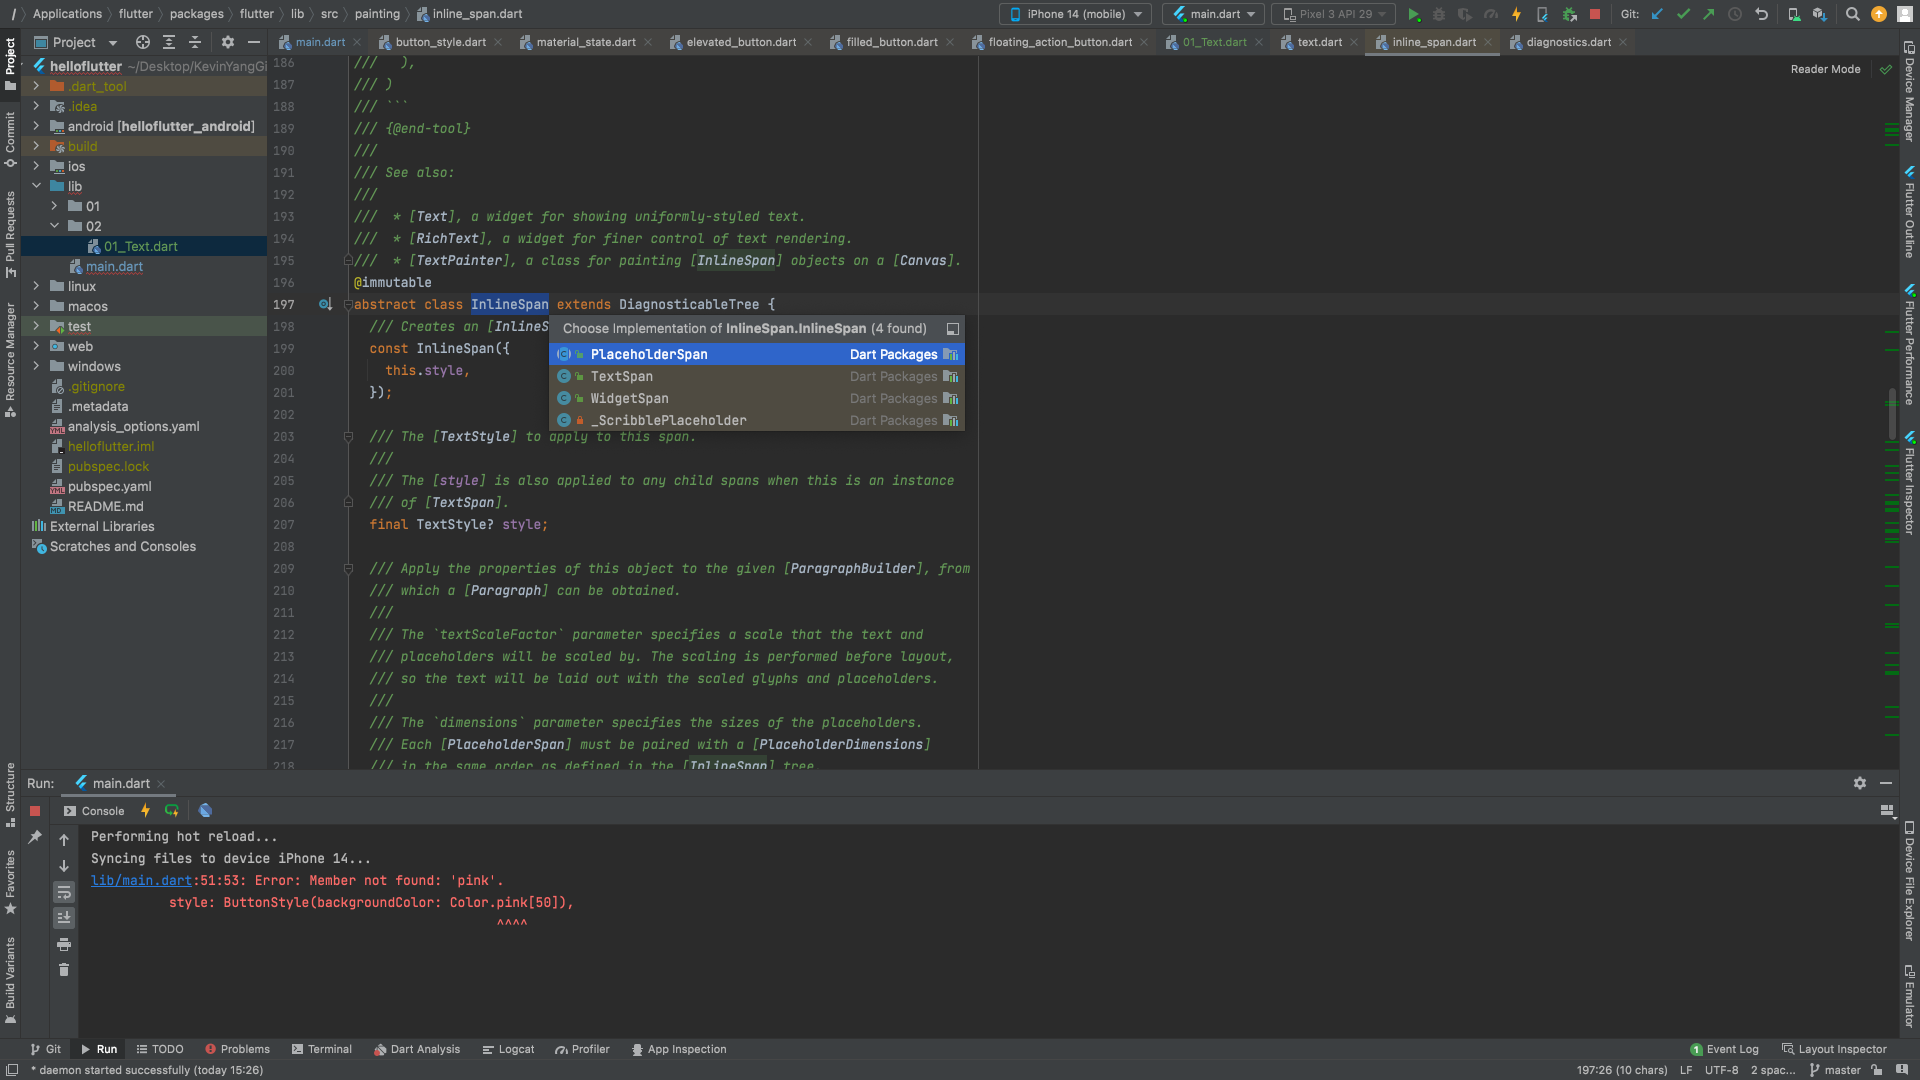
option + command + b:查看抽象类的子类,抽象类只声明方法不实现,子类负责实现。
option + Enter 扩展功能
CMD + option + M 将选中代码提取到某个方法中
CMD + option + W 将选中代码提取生成一个新的Widget
command + N生成构造函数
菜单栏: Code —> Generate —> Constructorƒ
Command + Shift + F全局搜索